A Cartoonist's
Playground
|
In this blog I'll share my
experiences navigating digital art and cartoons. |
|
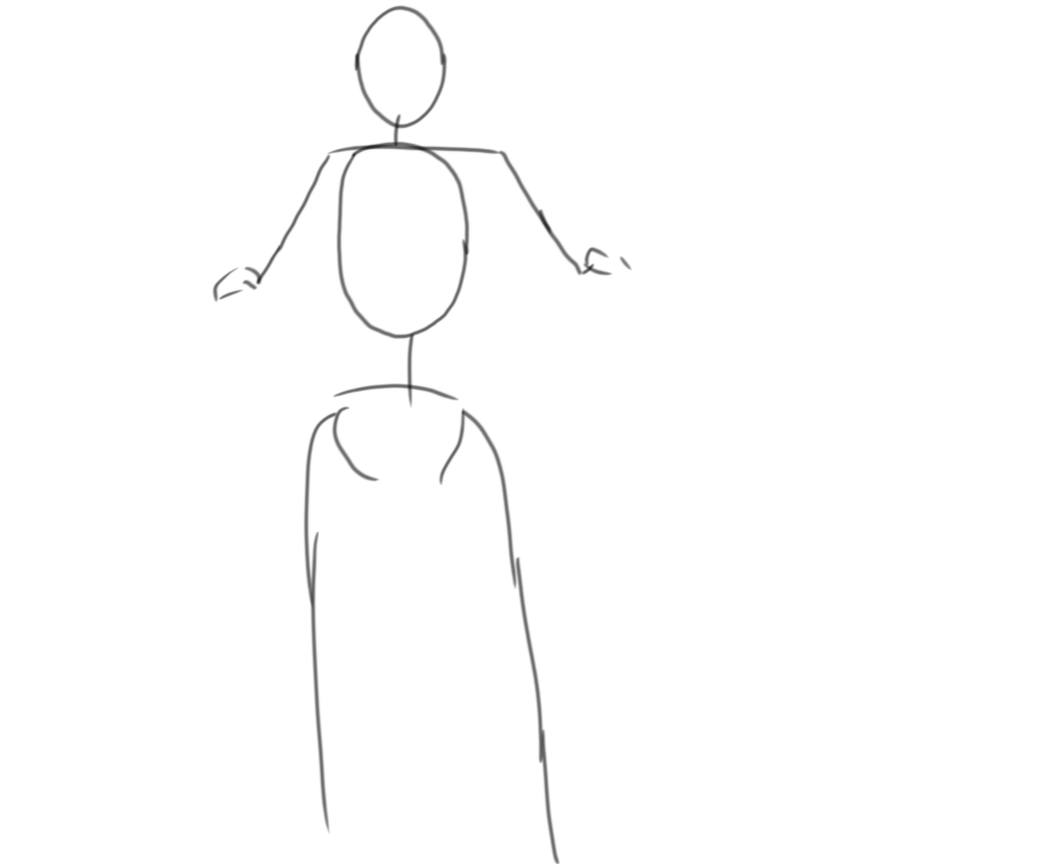
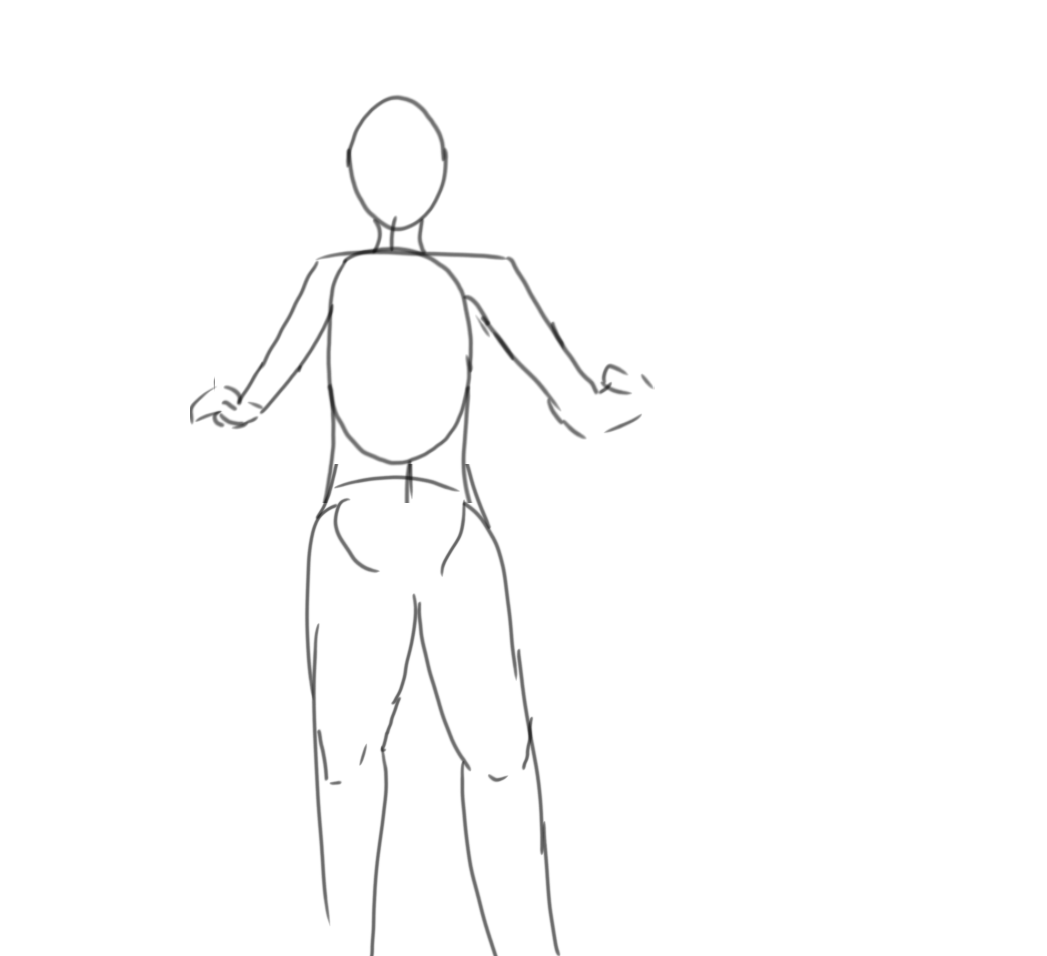
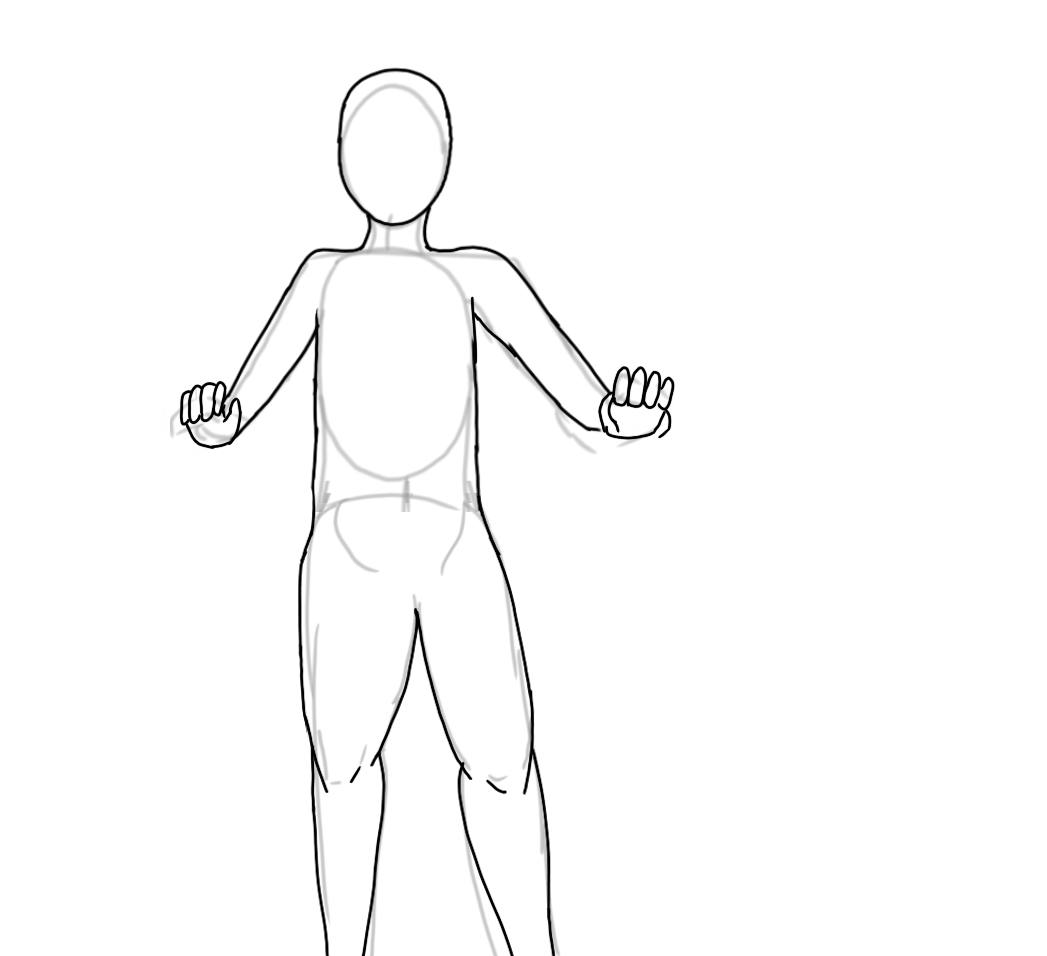
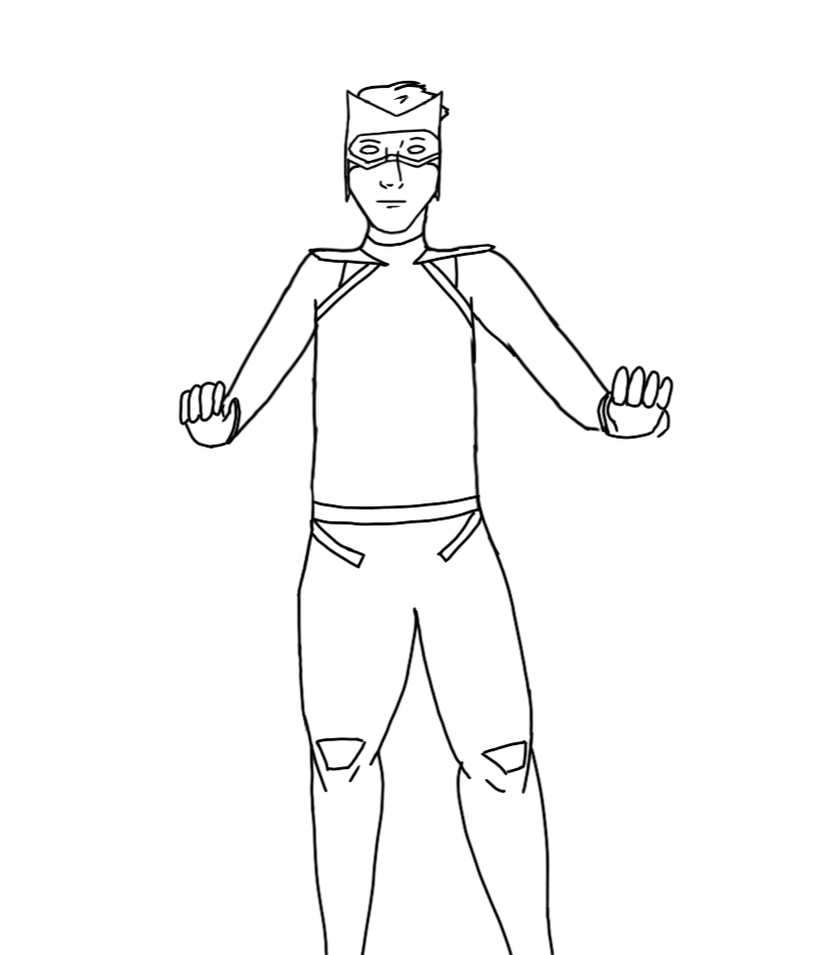
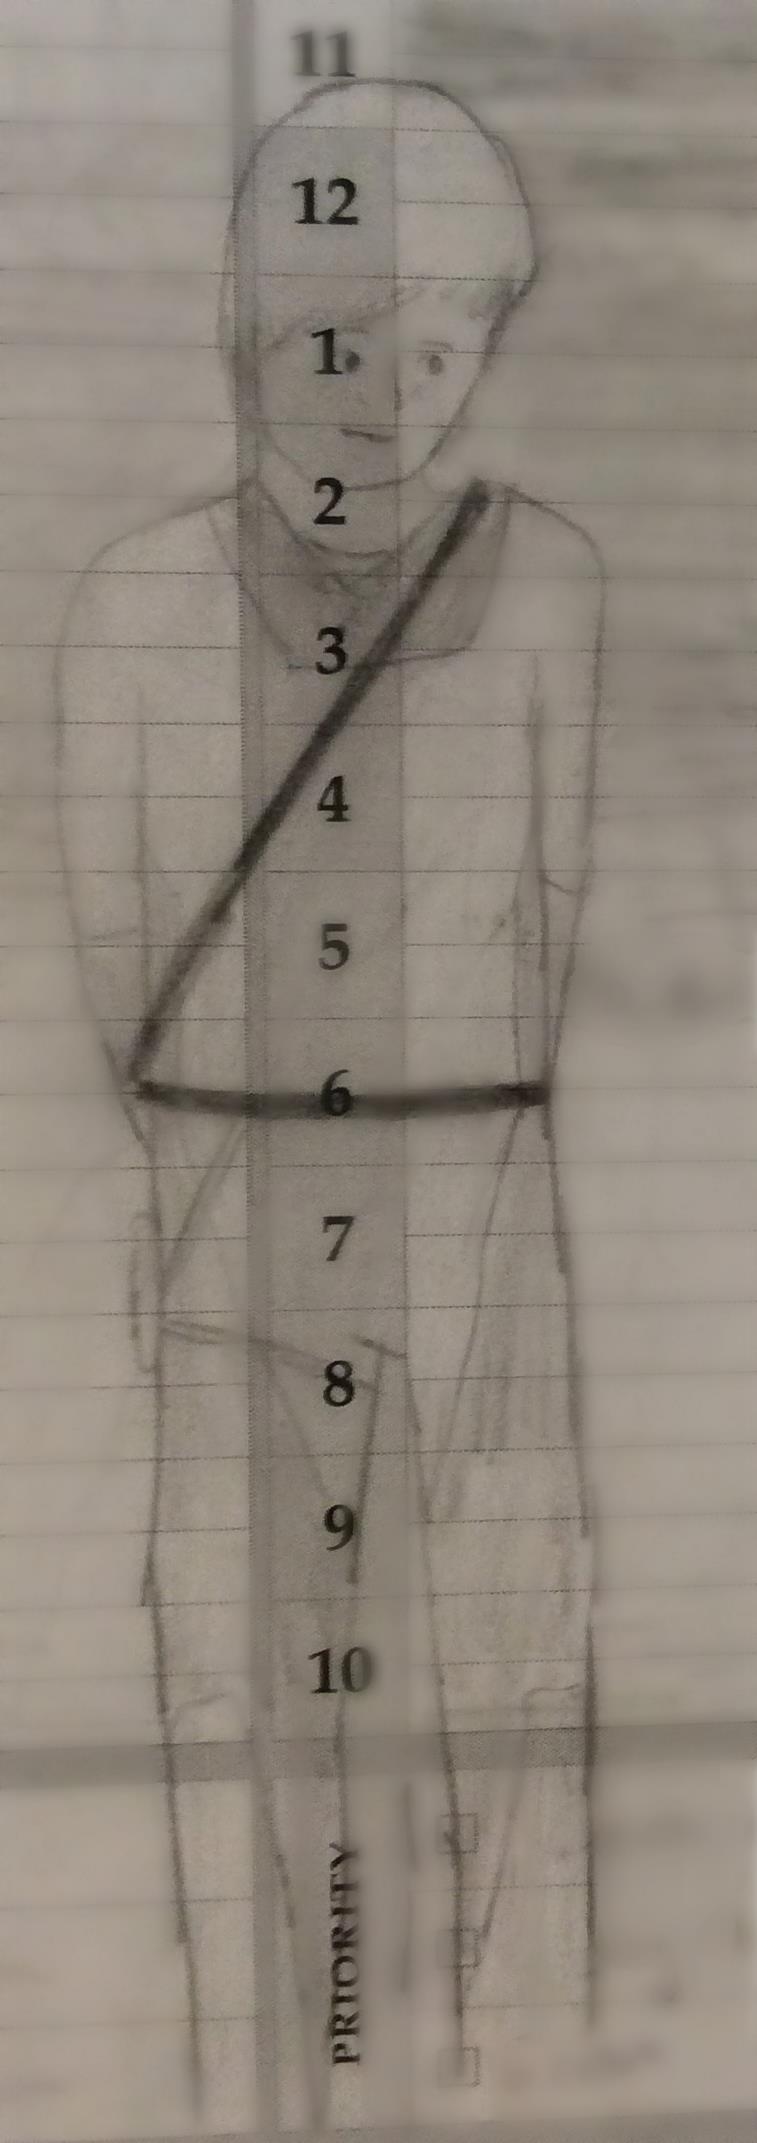
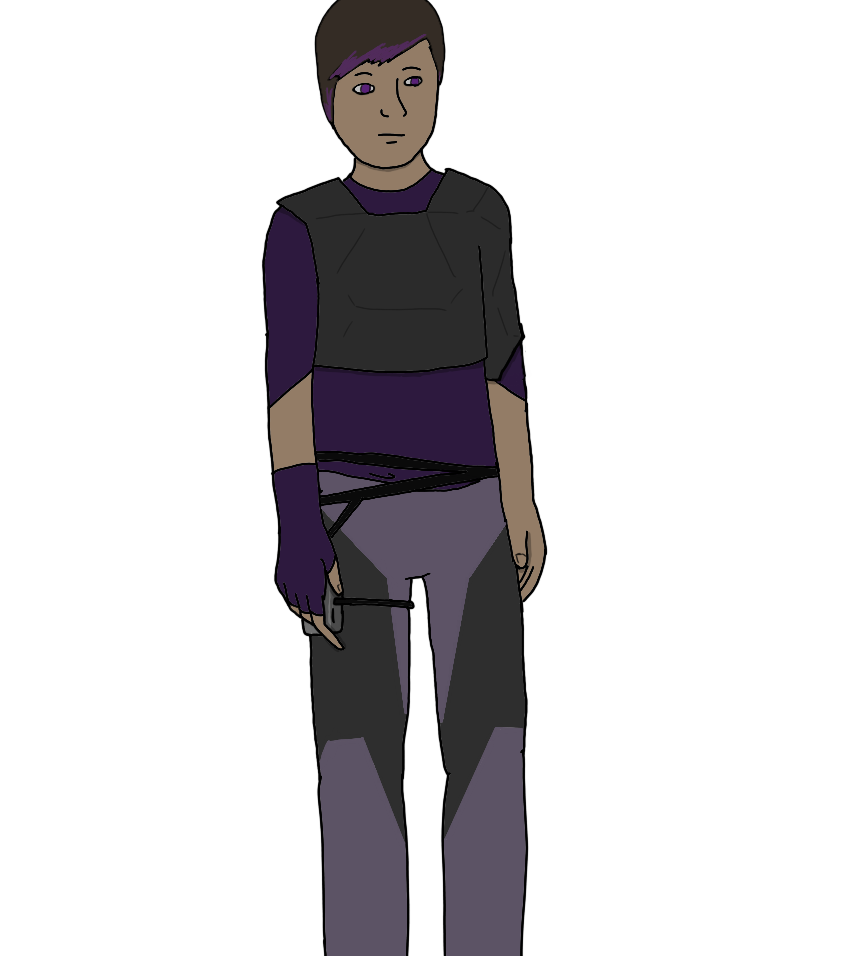
When drawing action poses I found the easiest way to draw realistic positions and actions is through drawing the base structure with action pose sketches. How To I like to draw this pose structure where I draw oval-like spheres for the head and torso (the torso sphere is a little distorted (see picture below)) with a line connecting the head to the torso. I use a half sphere for the hips. I I draw a line across the top of the torso oval for the shoulders as sort of a hinge. I then draw the arms and legs as lines extending outward from the shoulder line or the hips. I like to suspend the top of the legs slightly outward from the hips. I like to draw small circles at the knees and elbows to show myself where they are. Keep in mind that these are three dimensional. These shapes aren't going to be the same at all angles. 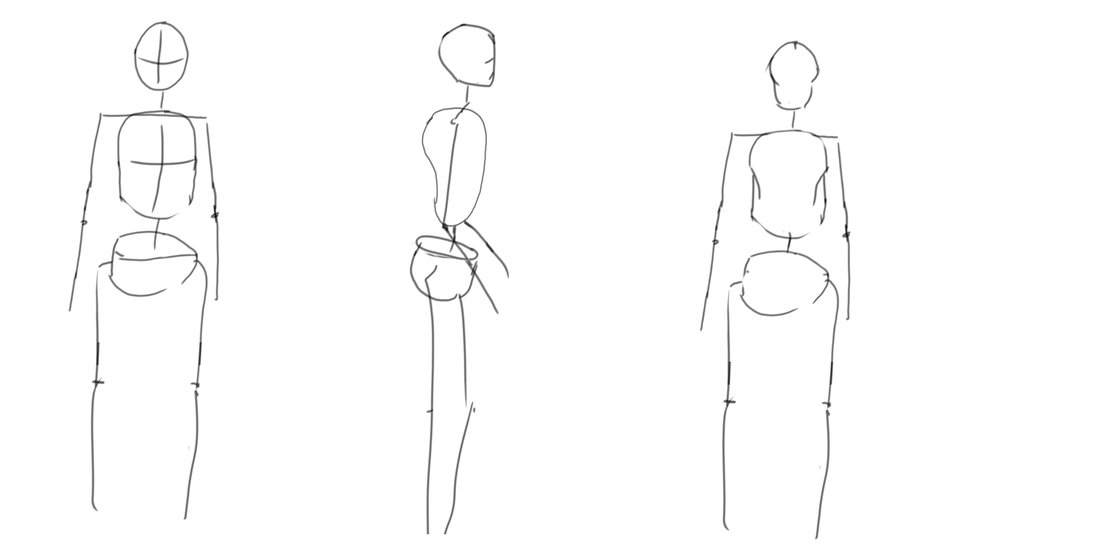 Step By Step
6 Comments
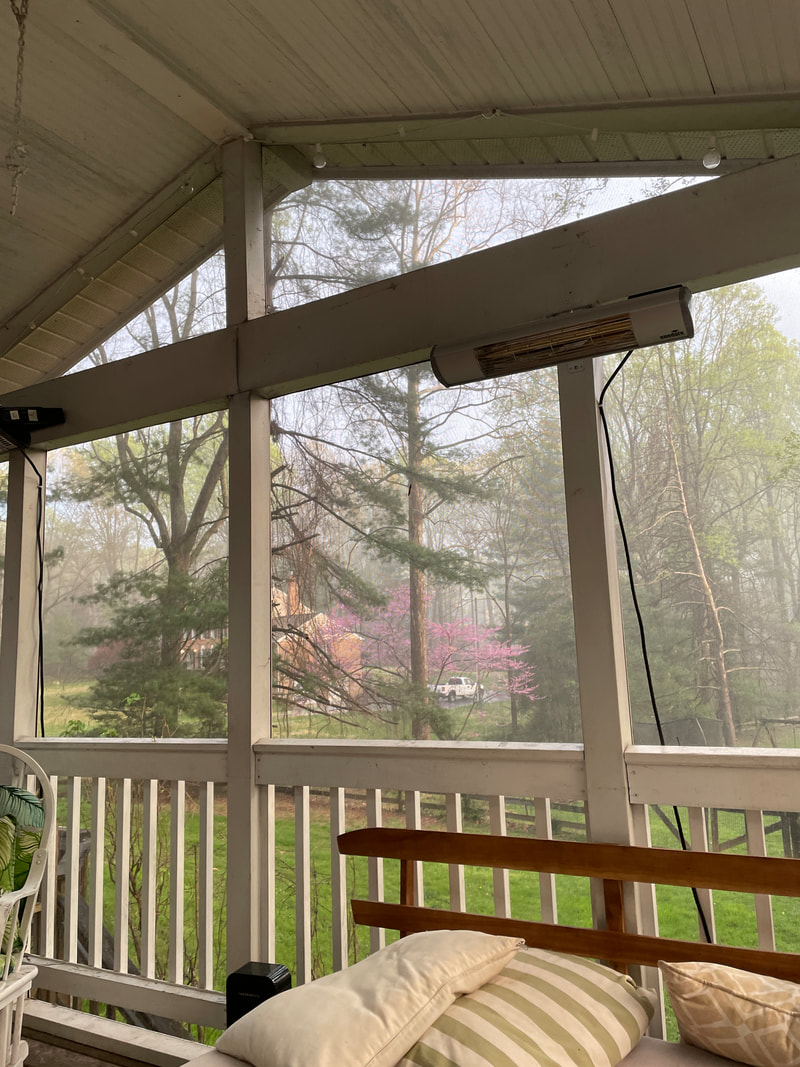
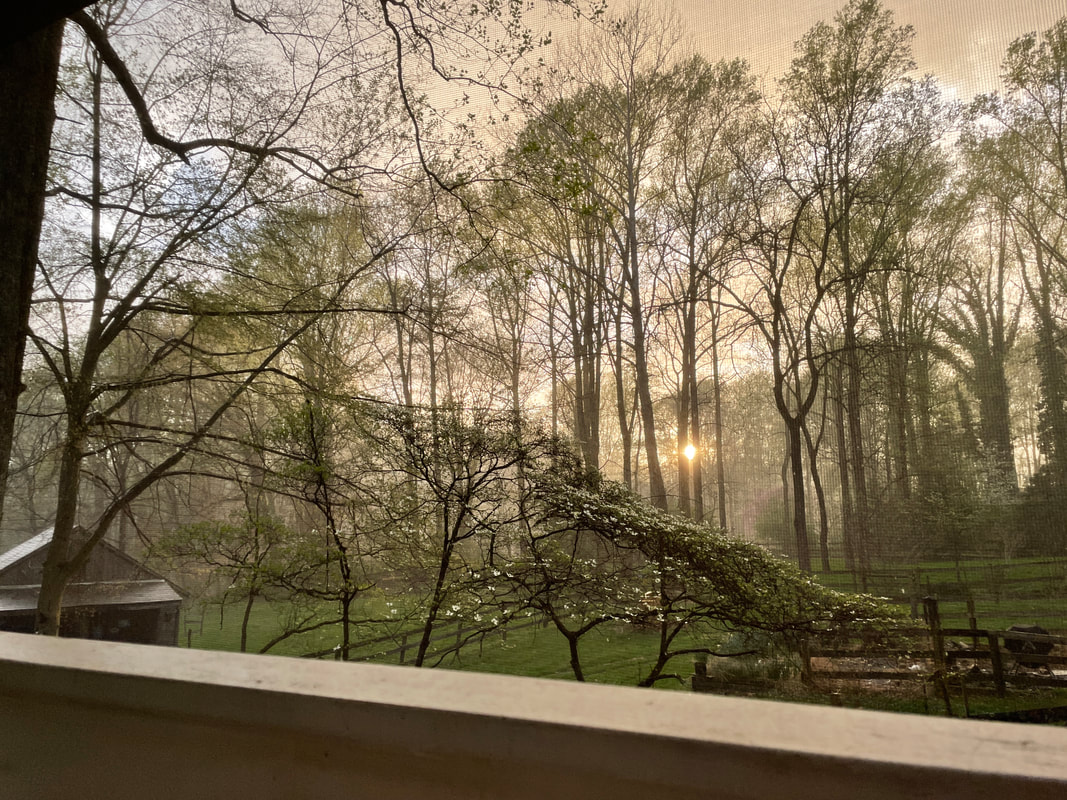
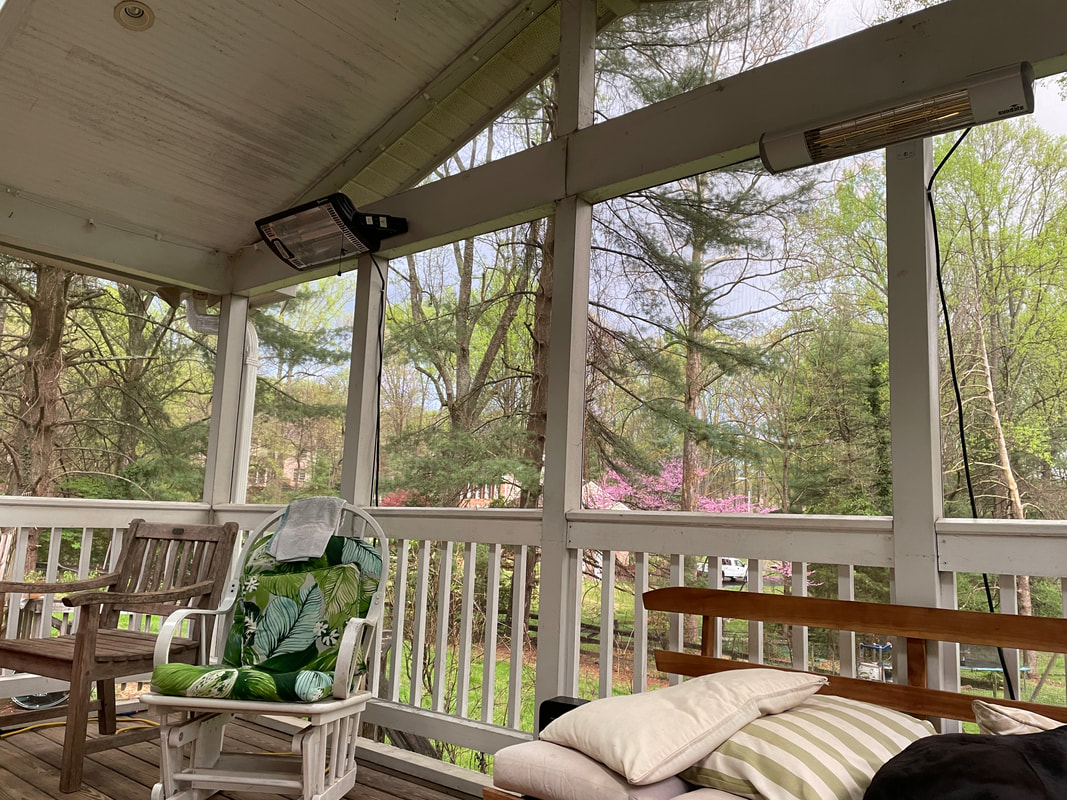
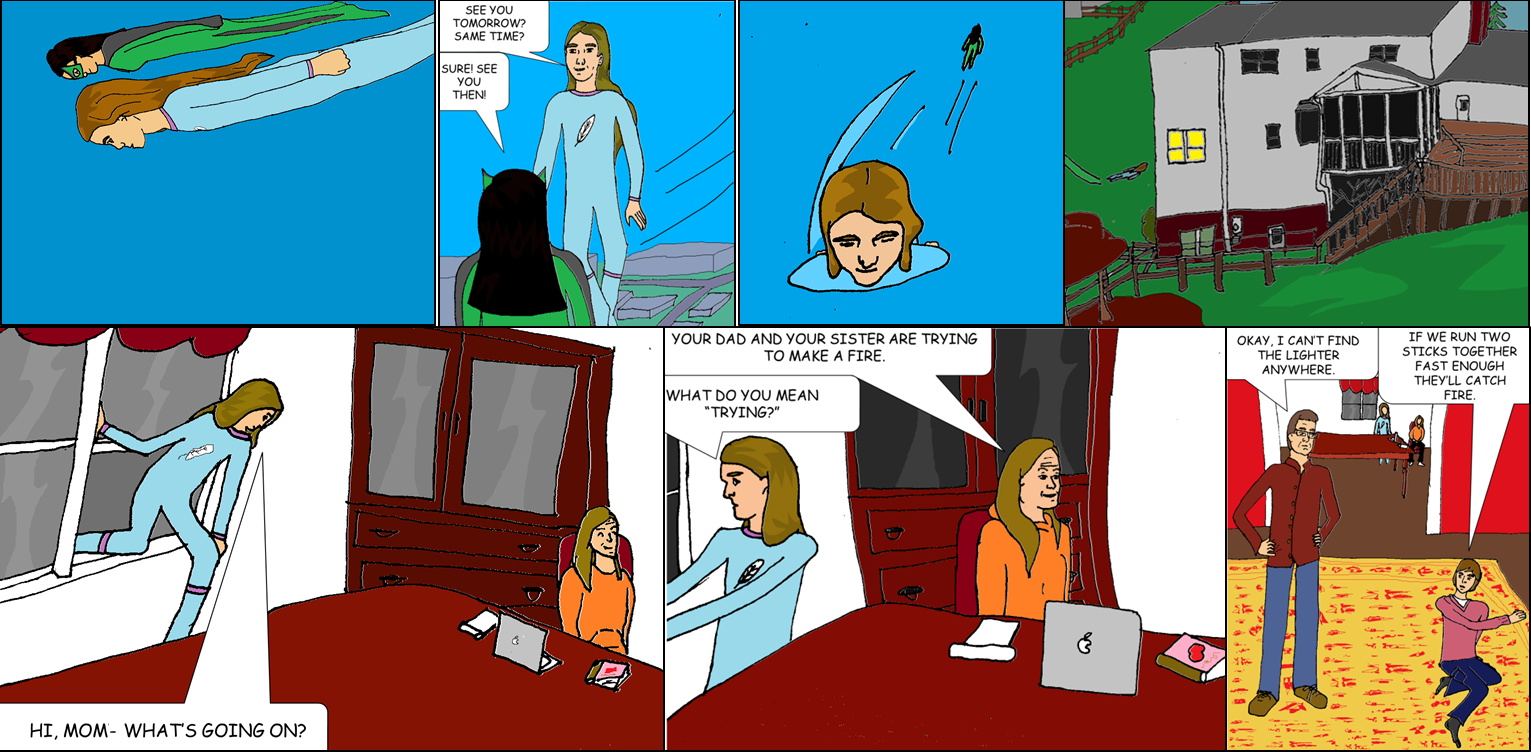
Last night I was sitting on our screened in porch with my family when it started to rain. The sun was shining on the clouds and far trees in the distance. The rain poured on our house like buckets of water dropped from above, yet in the distance the sky was clear, and the sun glowed gold. Rather than washing out the colors of the trees and flowers, it strengthened them. The pink cherry blossoms grew even brighter and the grass shown a vibrant green behind the curtains of the storm. Gushes of water broke into mist through the screens of the porch. Then the rain let up as quickly as it started, leaving the whole world in a bright green haze. The clouds above were a beautiful gradient of grayish purple and golden yellow. The setting sun illuminated the whole world before our eyes. It was as if the world was a photo with the saturation turned up the whole way. Everything had color. The previously grey tree trunks were now a glowing brown. Dead leaves on the ground came back to life. Even driveways came alive. The whole world woke up. The whole world let its colors shine.
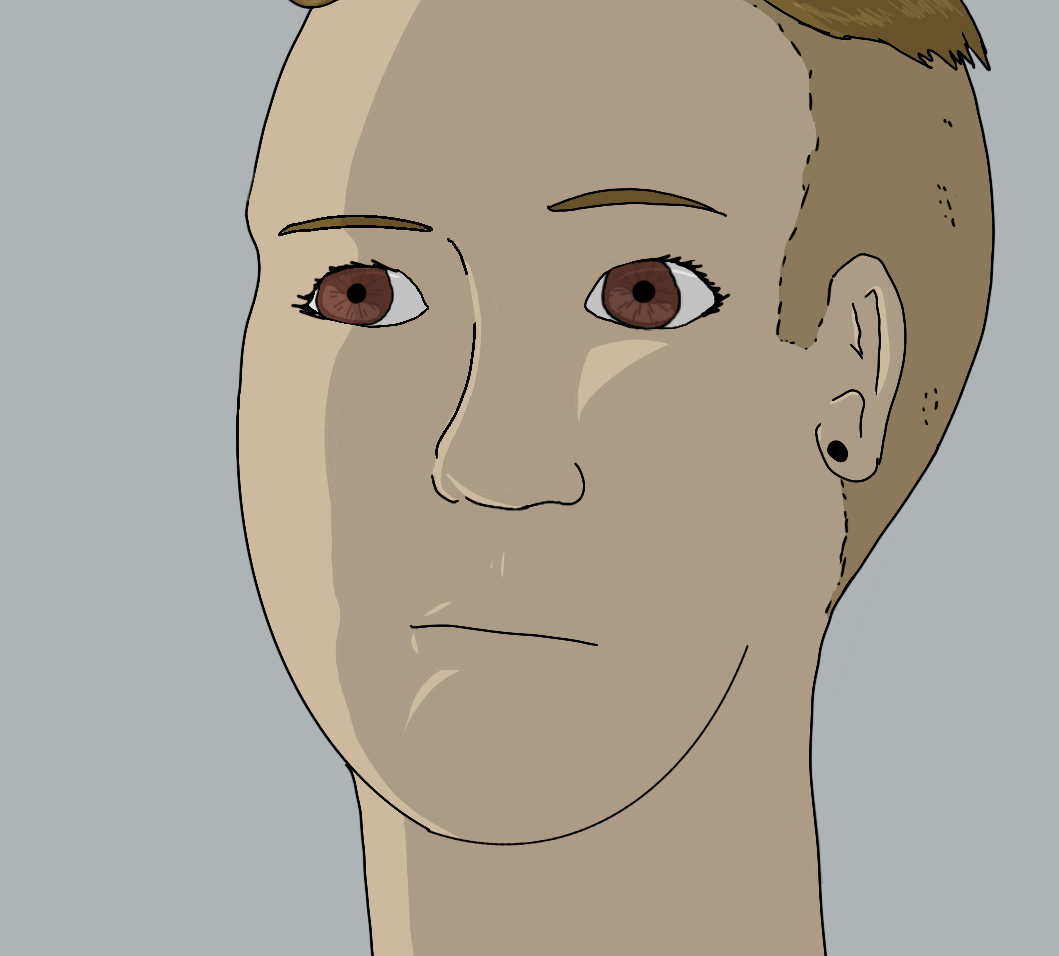
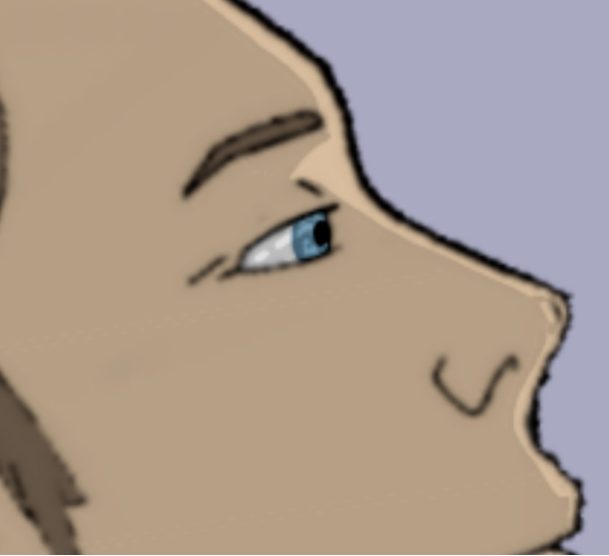
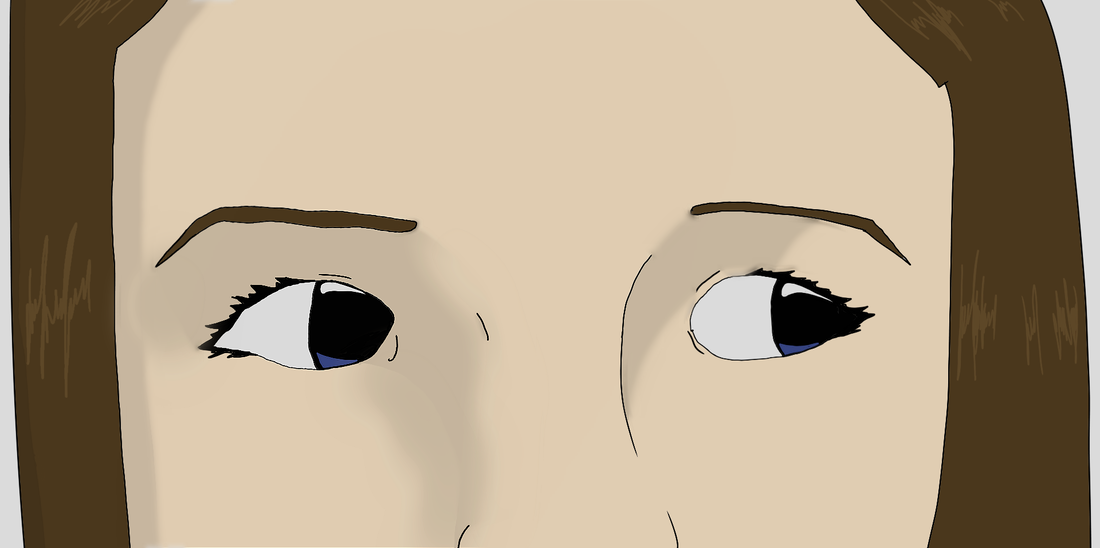
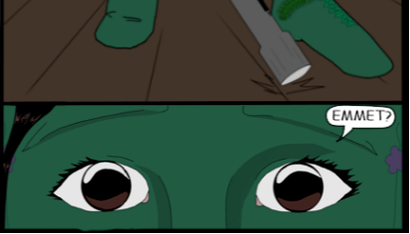
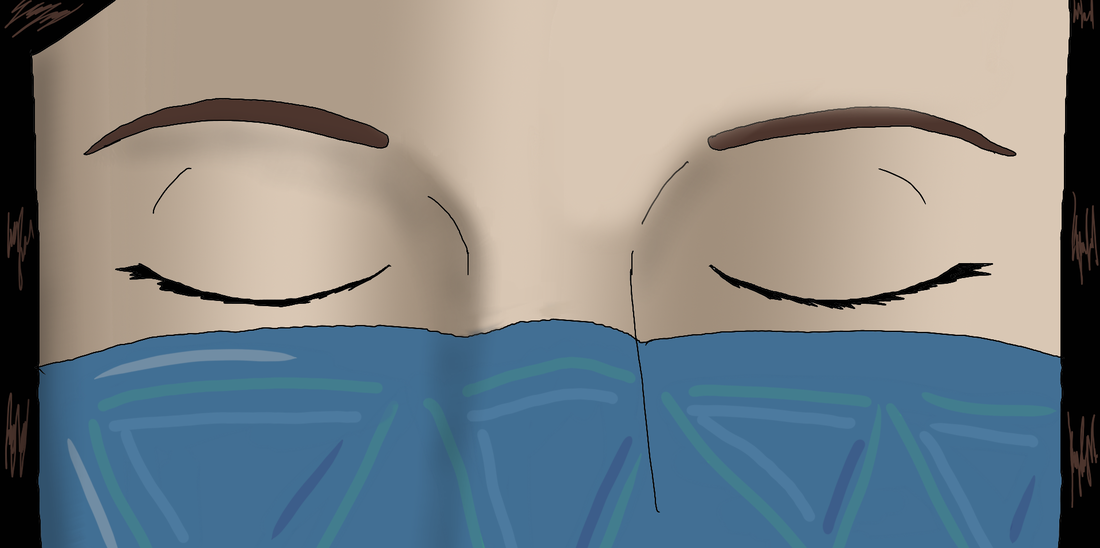
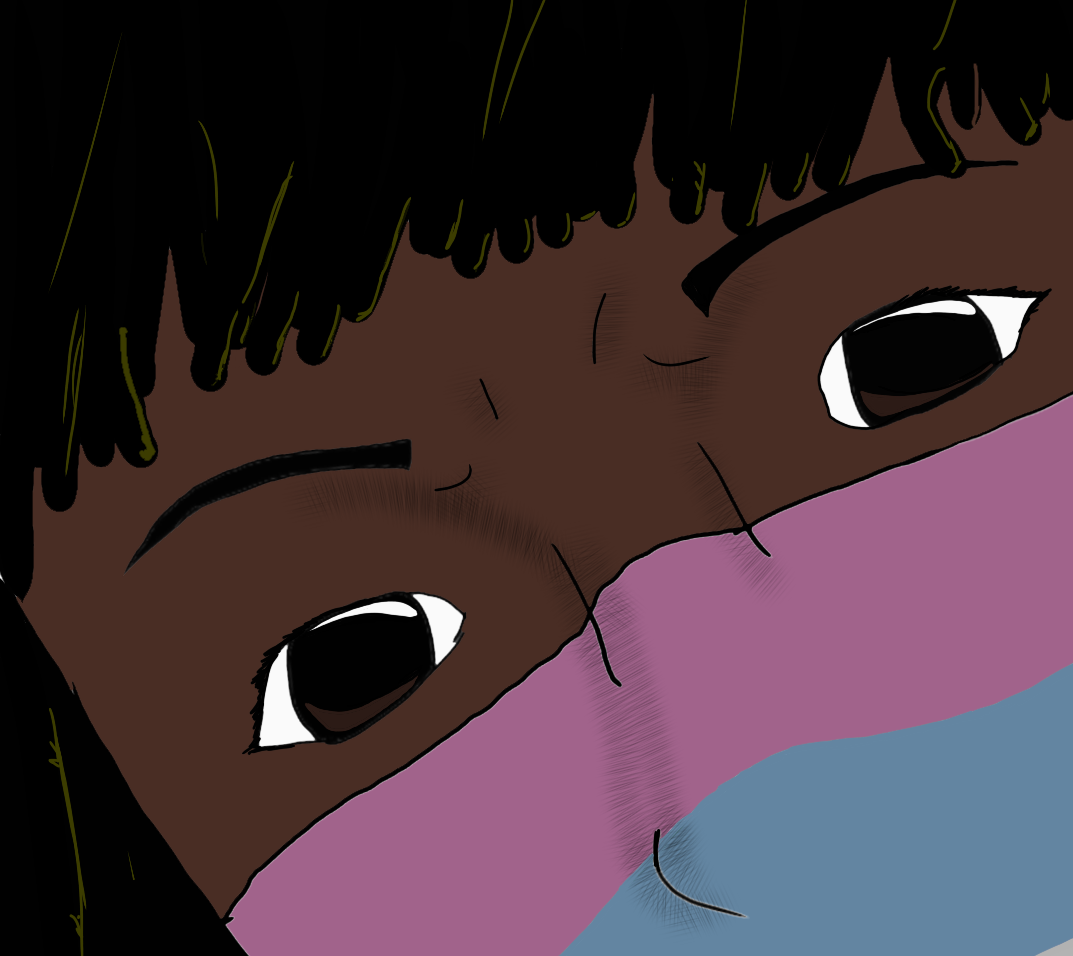
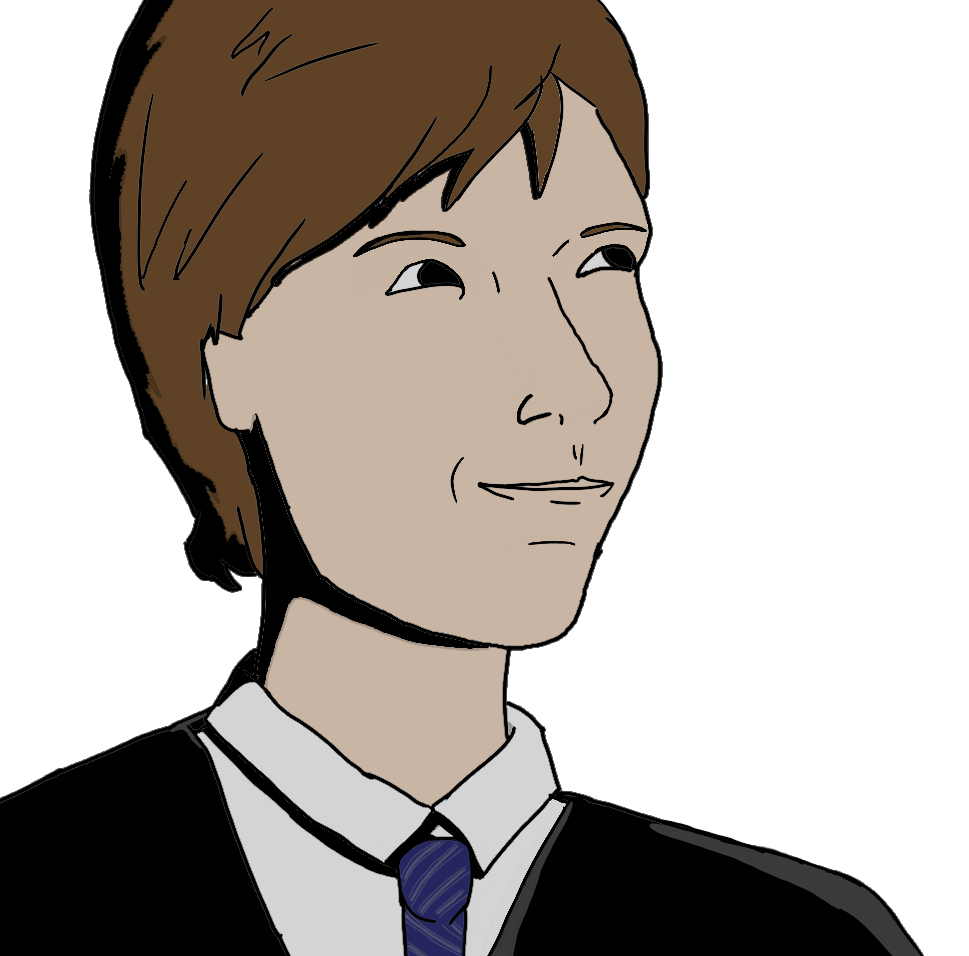
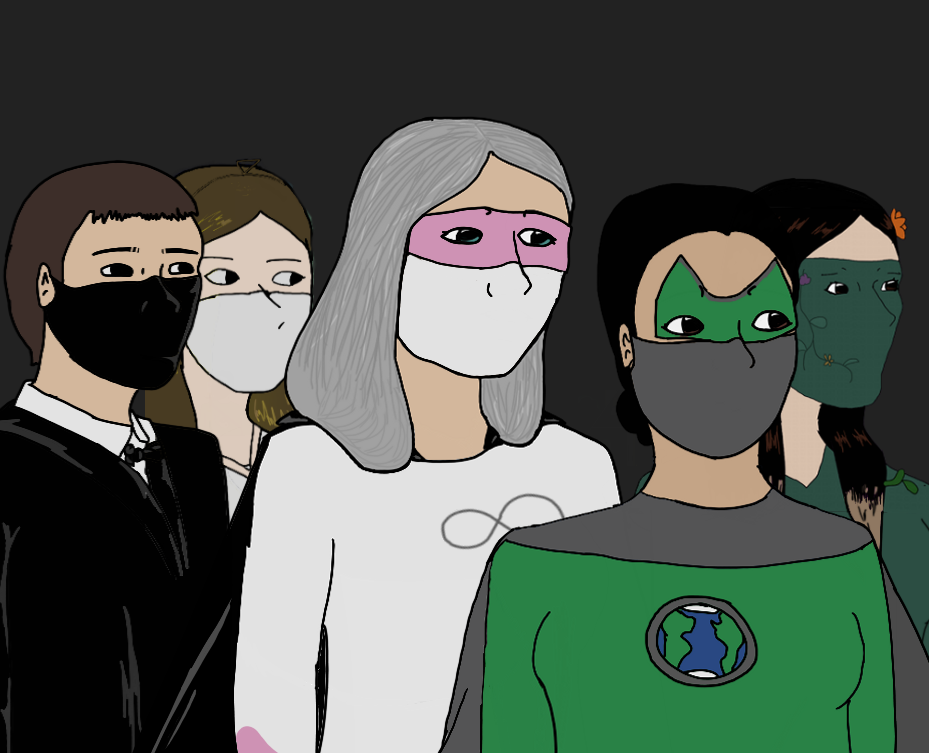
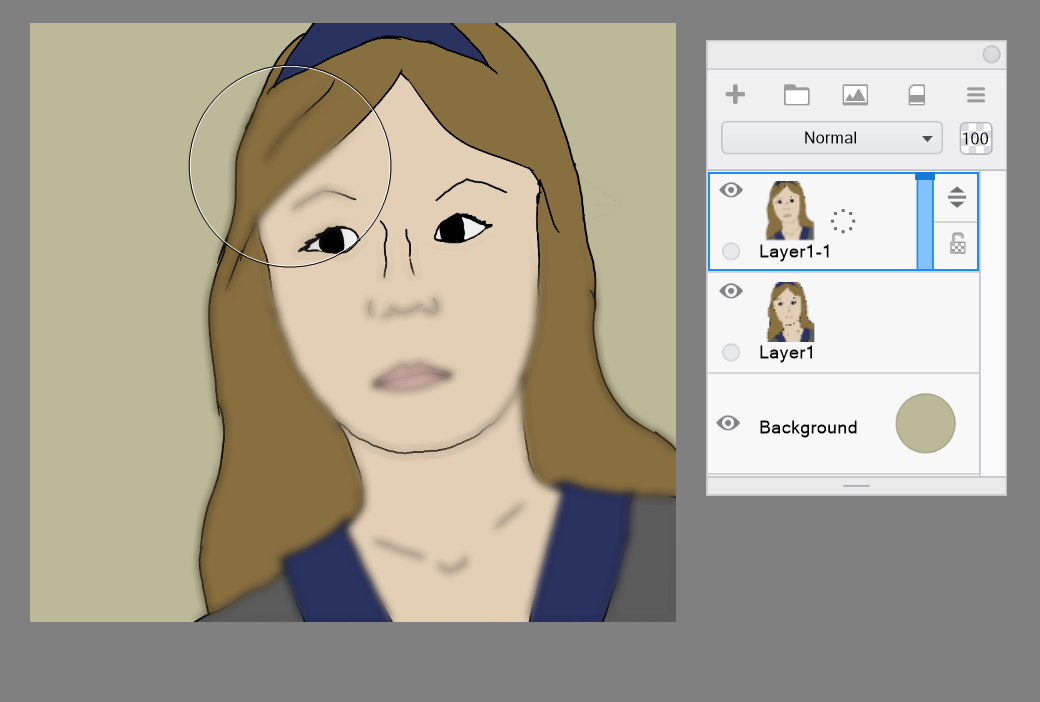
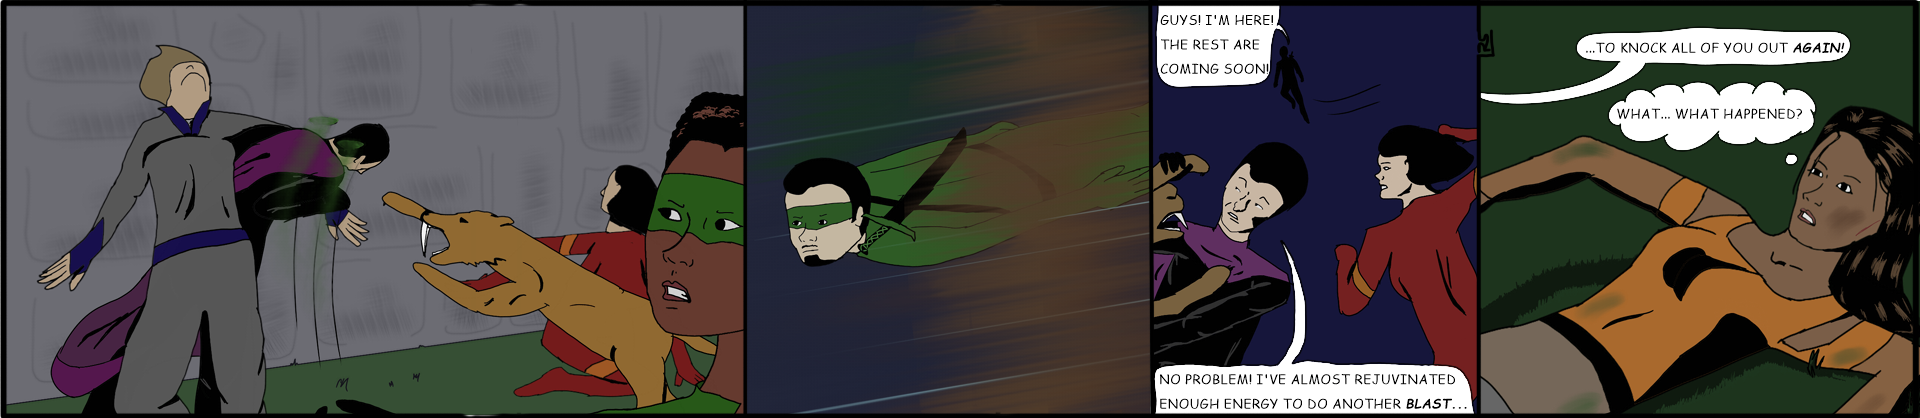
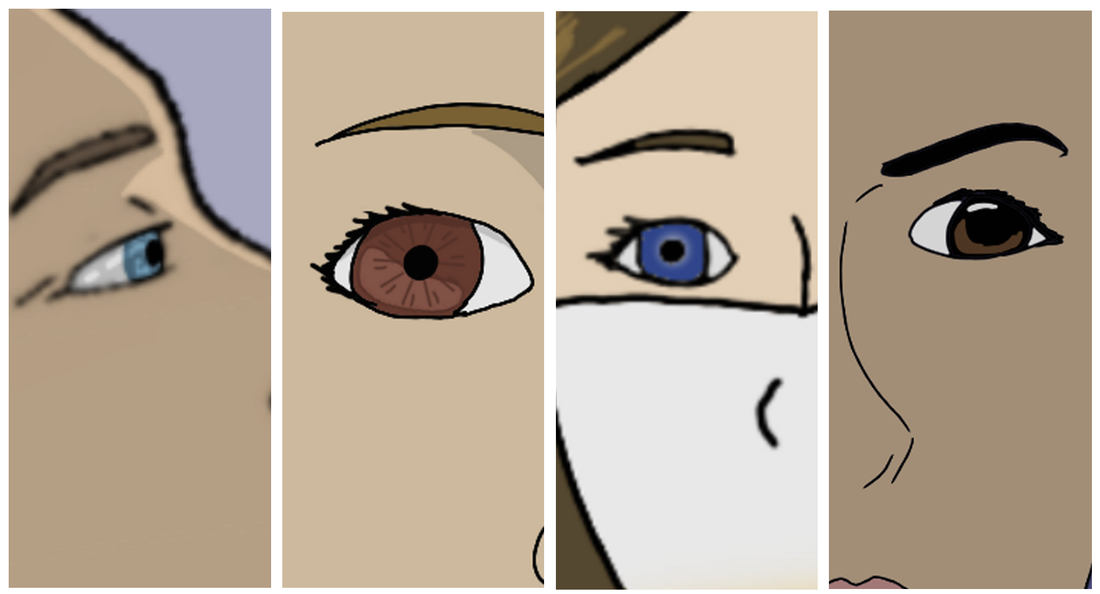 Recently I've been experimenting with different ways to draw eyes. When I started drawing my comic strip, I never drew close enough close ups to have the eyes be anything more than black dots for pupils (except, of course, when they were glowing for any reason.) 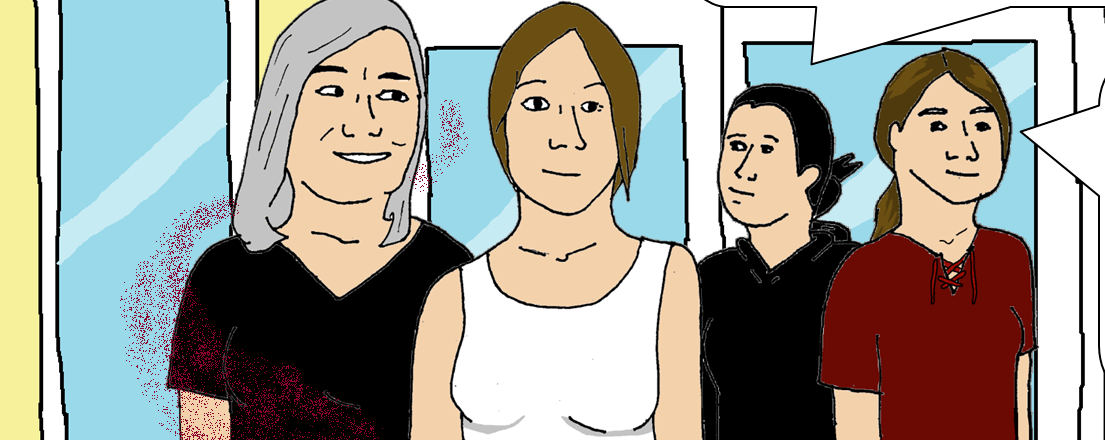 From my superhero comic strip; First Superhero Comic Strip, Birthday Only late in the second story did I began to add color and shine to the eyes.  From my superhero comic strip; Superheroes: Balance Toppled, Nightshade's First Strike In the third story I began to experiment with drawing lighter colored eyes. 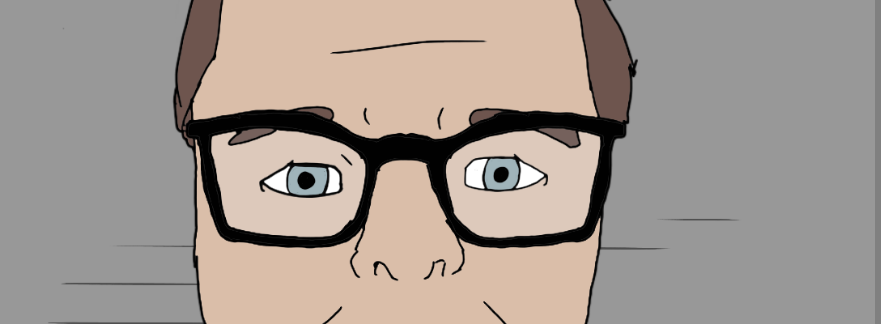 From my superhero comic strip; Superheroes: The Search for Mirage, Pumpkins Even more recently I began to experiment with the different colorings in eyes. If you look close at many eyes, you can see its not just one color but two or more rings blending into each other. I experimented with gradients when drawing eyes. 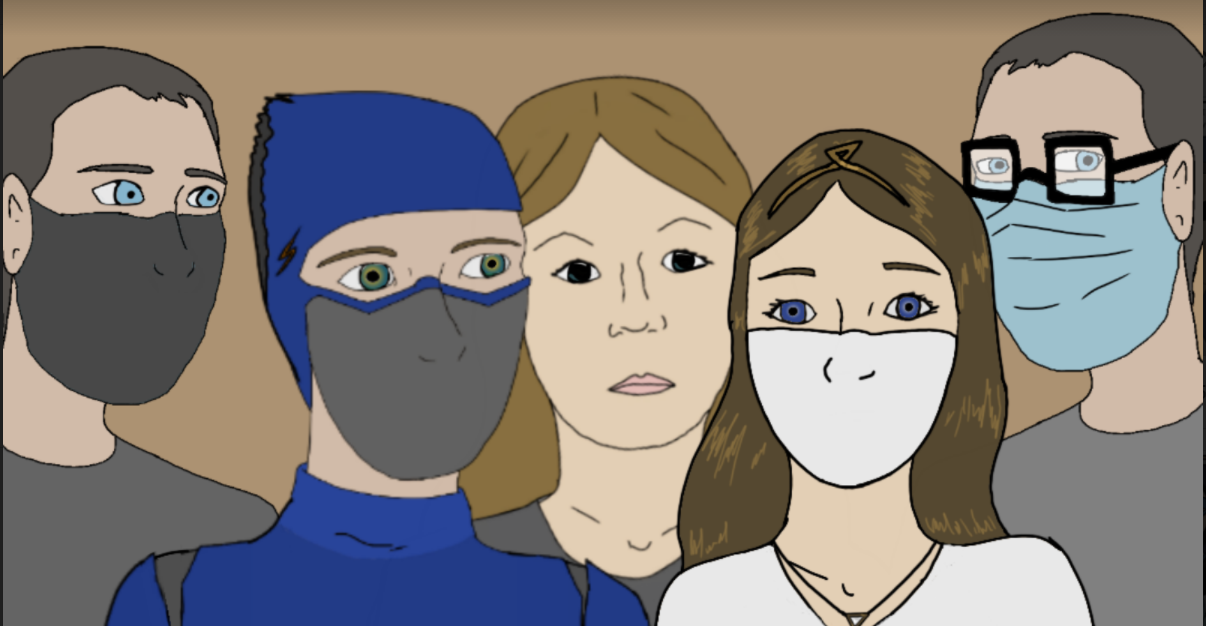 From my superhero comic strip; Superheroes: Division, Time Travelers Arrive Even more recently, after being inspired by the art in an anime-style animated show, Legend of Korra, I tried yet another design for eye coloring. It's made up of three colors, a light, dark, and middle color, and then the pupil. I also experimented with coloring the lines of the edge of the iris not with black but with the darker color in the eye.
From my superhero comic strip; Superheroes: A Matter of Time, Tom's Flashback I'm going to keep working to improve my drawings of eyes and the rest of my art!
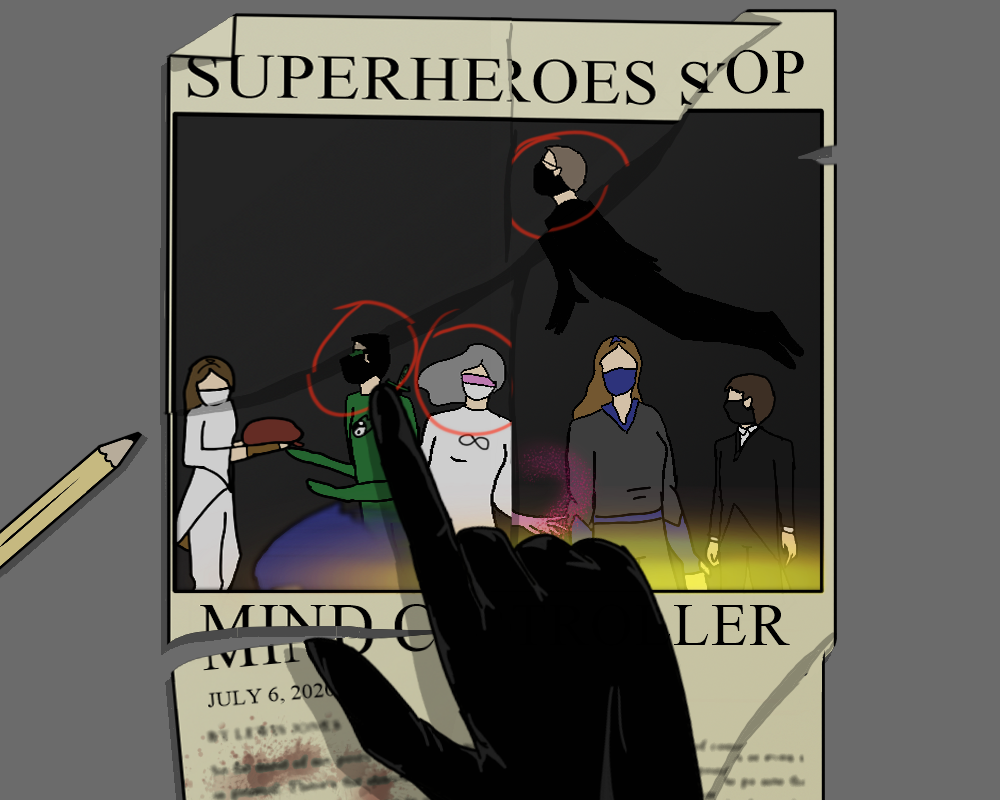
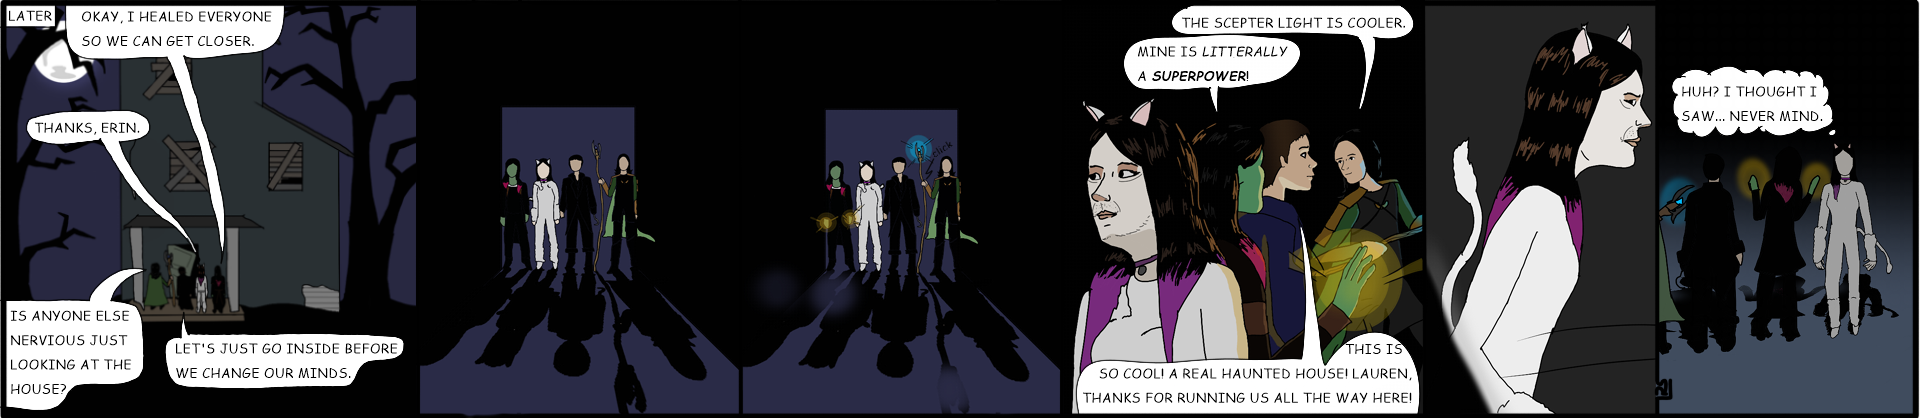
One year ago today, March 22nd, 2020, I sent an email to two friends with a lengthy body and one image attached. The subject line read "Comics!" 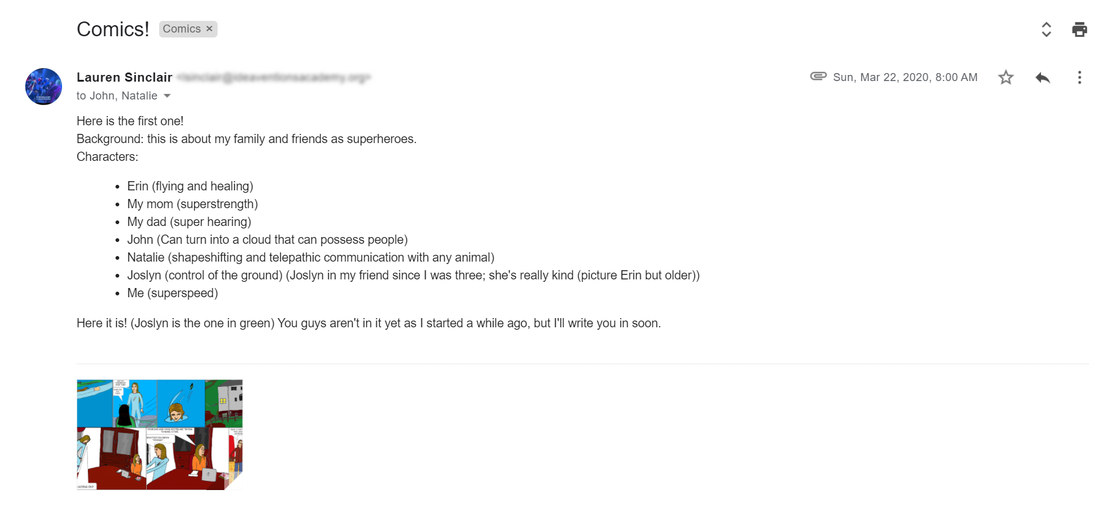 The email started: "Here is the first one!" It was followed by a long description of who the characters are and what superpowers they have. The characters listed are only a half of the ones in the story now, and those are only the ones who are based off of my friends. There are also tons of characters I created (villains and allies alike) to aid in the story lines. Size isn't the only thing that's changed. My artwork has improved immensely over the year. If you look at that first comic I made compared with the one released today, you can see an big difference.
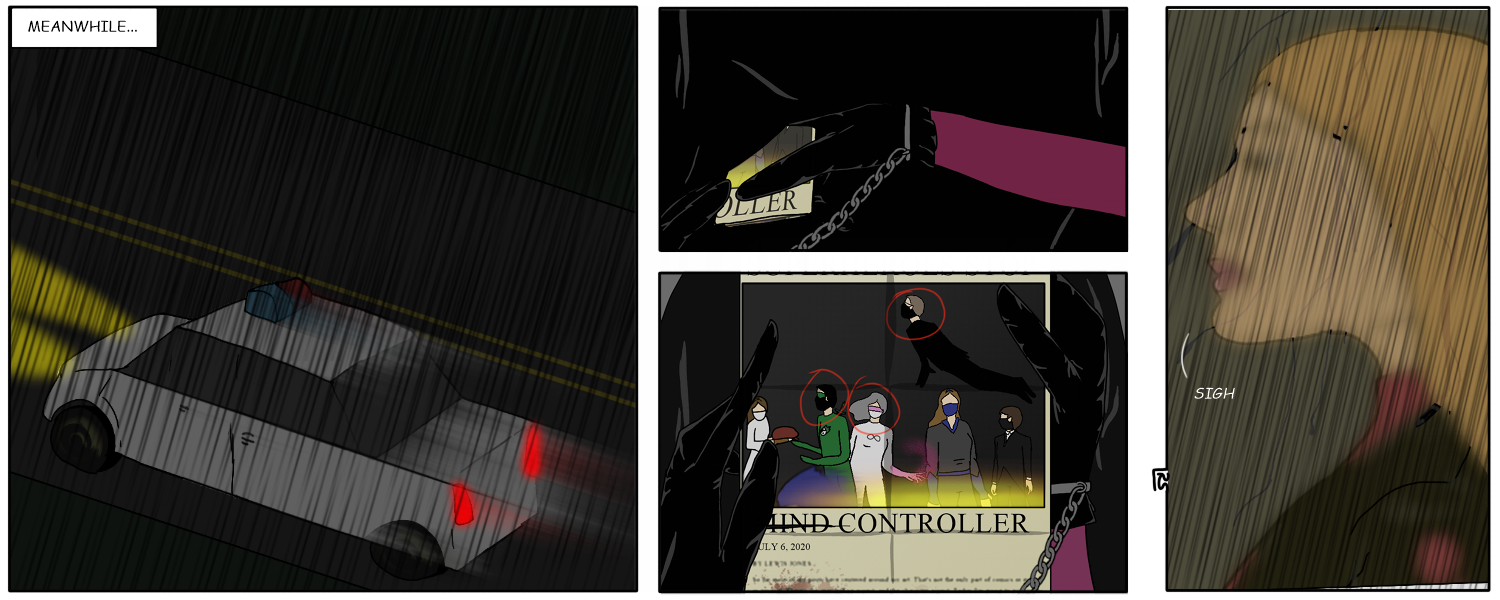
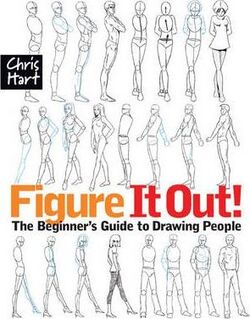
I've also improved the plots of the stories of my comic strip a lot over the years. I've gotten a lot better at planning out storylines and plot moments than I was when I first started. Often I would have to reroute an entire storyline because I forgot it was one of the character's birthdays and I wanted to make a birthday special for them. I've also over time created much more complicated story threads. While in the first one I wrote there was just the main plot (even if it did have a twist at the end with a mind controller being behind all the bank robberies) while now I have many threads weaving together, some even over multiple stories. (I may write more about plot later, let me know in the comments if that sounds interesting!) I think it's interesting to look back on what I created so long ago. Below I put the first 20 editions of this comic strip! While the art wasn't so great, I still think they were actually pretty funny! Enjoy! For my birthday, my Aunt and Uncle got me several art books by Christopher Hart as they knew I loved to draw! I was so happy and started looking through them instantly! In fact, those books marked the start of a sharp increase in my skills as an artist.
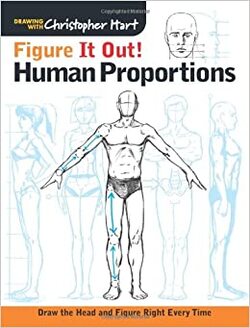
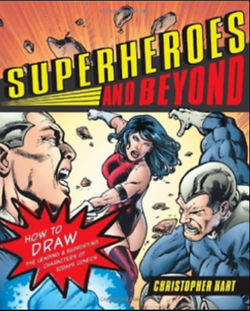
The most valuable things in guide books for me is looking at how other artists draw people, which these books have plenty of! When I started to follow the underlying shapes of bodies and poses, I made my art more dynamic and realistic. I also learned a lot about using dramatic angles and organizing frames for comic strips and books. Image Credit1: https://www.bookdepository.com/Figure-it-Out-Chris-Hart/9781933027807
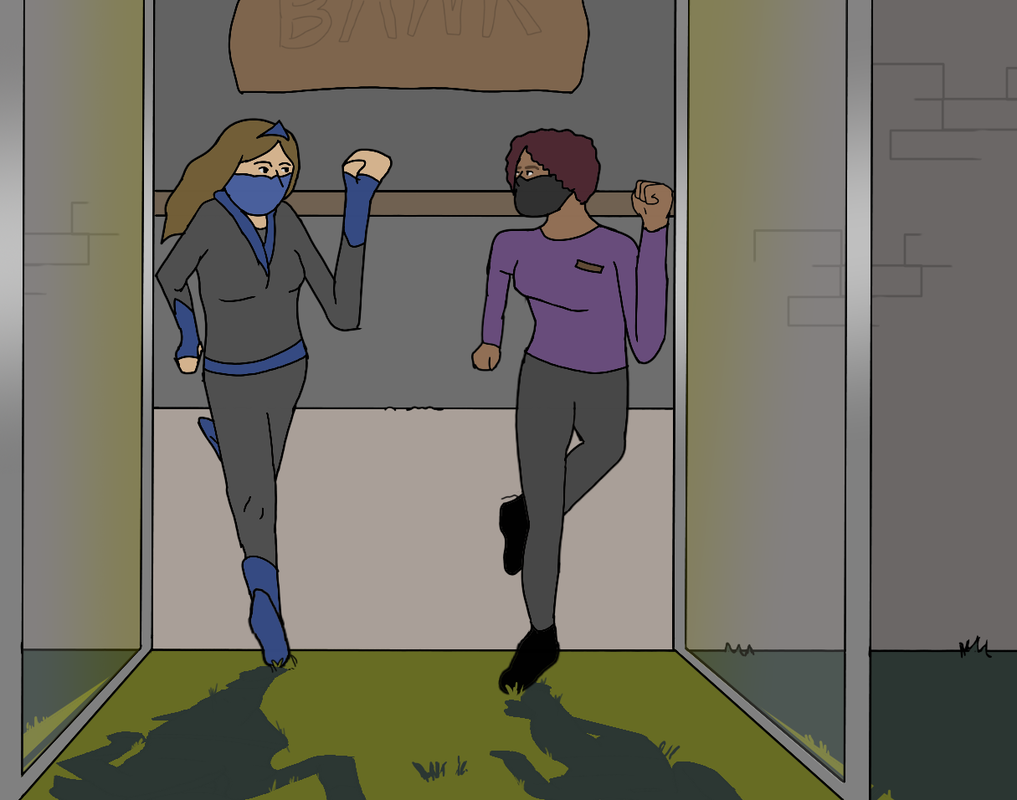
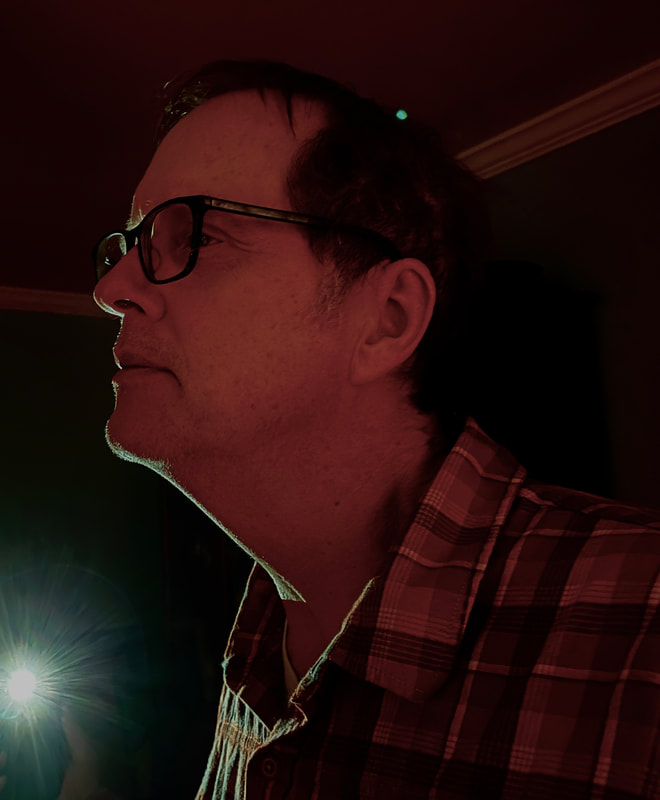
2: http://amazon.co.uk/figure-human-proportions-christopher-hart/dp/1936096730 3: https://www.ebay.com/p/72421356?iid=113386030596 There are three types of shadows I'm going to cover in this piece: long shadows cast on the ground, shadows cast on the face from different light sources, and dark, dramatic shadows. Long Shadows
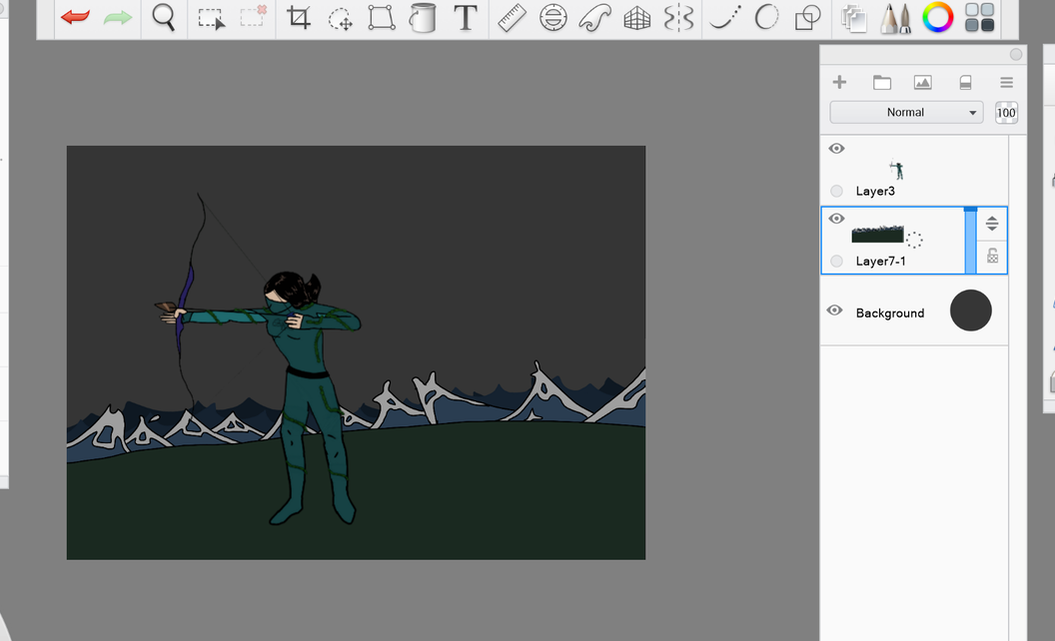
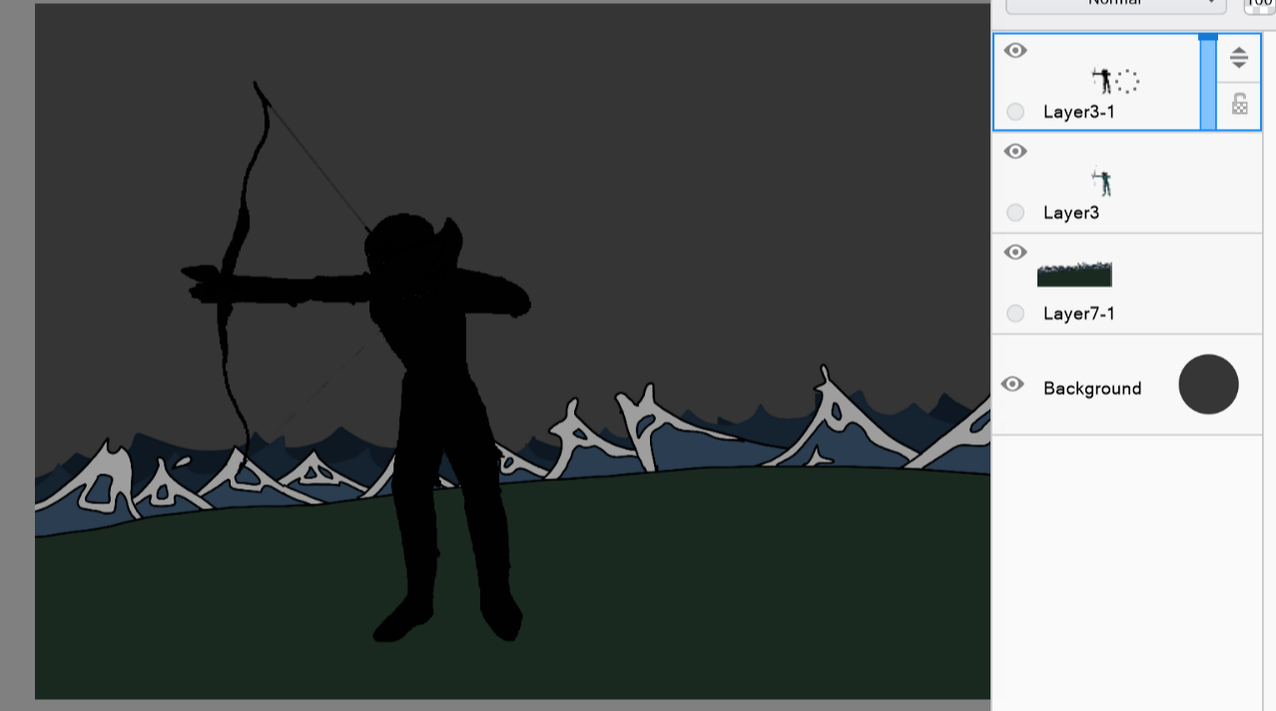
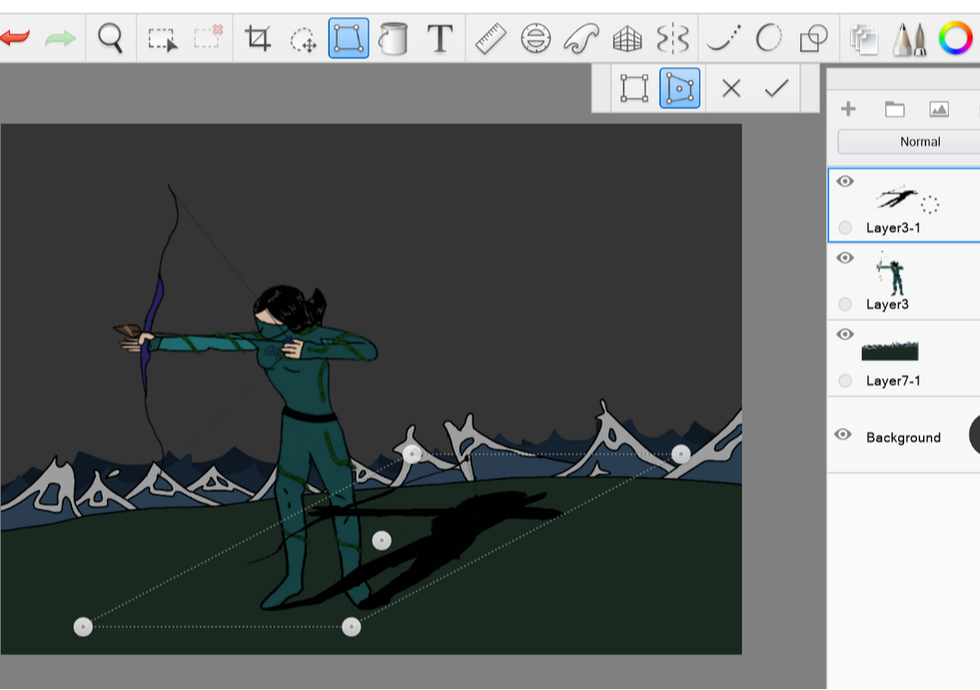
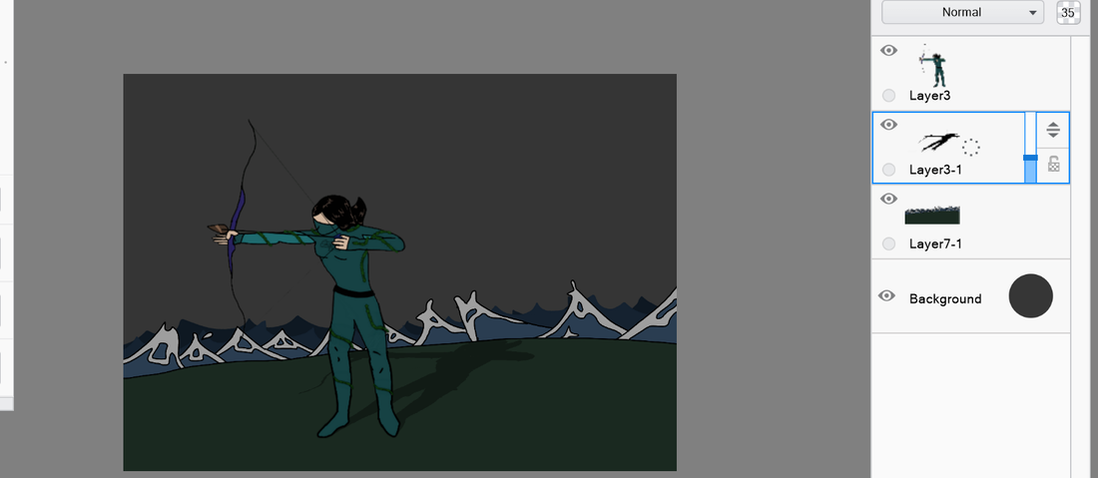
 Tricks for drawing long shadows Because it can take a while to redraw the subject to give them long shadows (or reflections), I often use a shortcut. I use the layers feature of many digital art softwares.
Step 5: You can also add the light source This is not necessary, but adding a light source or other shadows can make a scene look more realistic. Another way to show this is to add more long shadows from other objects.
Shadows on Faces
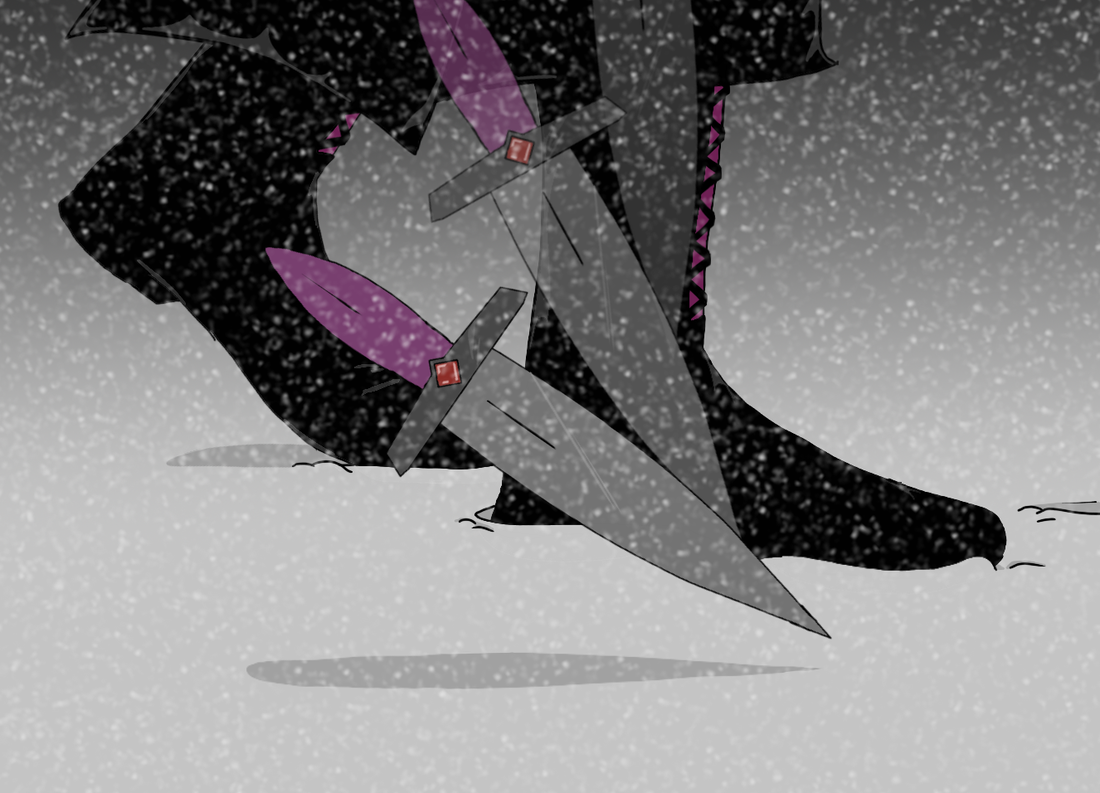
Dark Shadows
 In this post, I am going to talk about some of the tips and tricks I learned doing digital art. Software and Technology
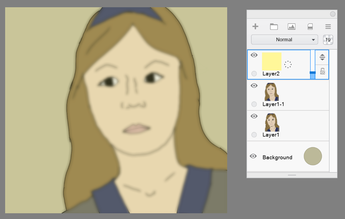
The BasicsOn many digital art softwares, you are going to have many different tools available to you. You have many different types of brushes with different shapes, textures, blending, and other effects. You also have layers to your drawing. You can change the transparency and blending of these layers, which can be a really useful tool. LayersLayers are a really useful thing about digital art that you can't really get on paper. Layers are useful for when you want to draw a foreground and a background which you may want to adjust and move around. Having parts of your drawing on different layers allows you to move parts around over top of others without having to erase the lower layers. They are also really useful for shadows and lighting. Often I will draw shadows and special lighting on a semi transparent layer above the subject so I can change it more easily later if I want. Layers are also really useful if you're going to have a very full foreground with something like rain, snow, or dust. That way if you want to change part of the midground you don't have to try to erase all the drawing in the foreground and then try to redraw it to match. It is much easier if you use layers so you don't have to try to mess with things you drew in other layers when you only want to change one thing which is in another. Layers can also be useful if you want to use one of the drawings more than once. You can often duplicate layers that way you don't have to redraw what you drew.
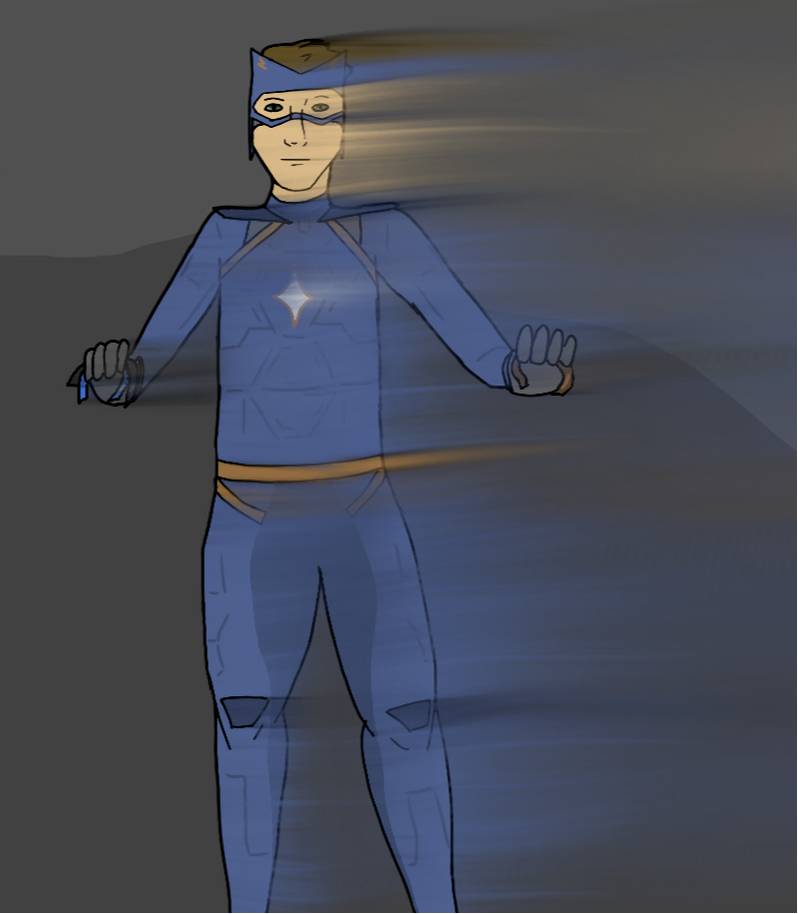
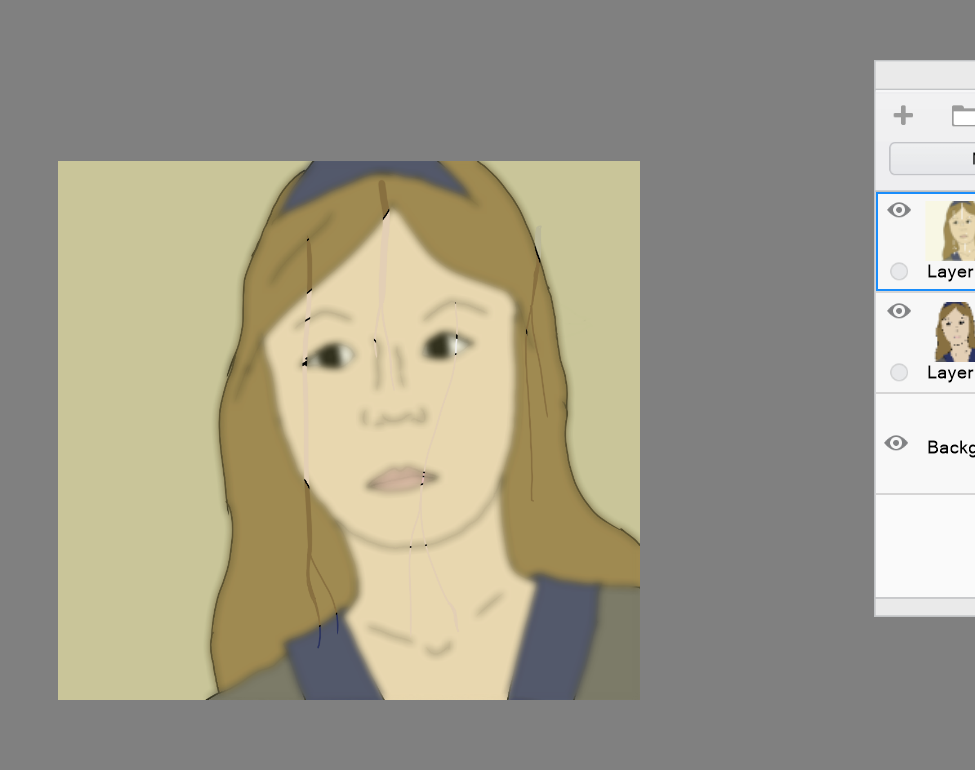
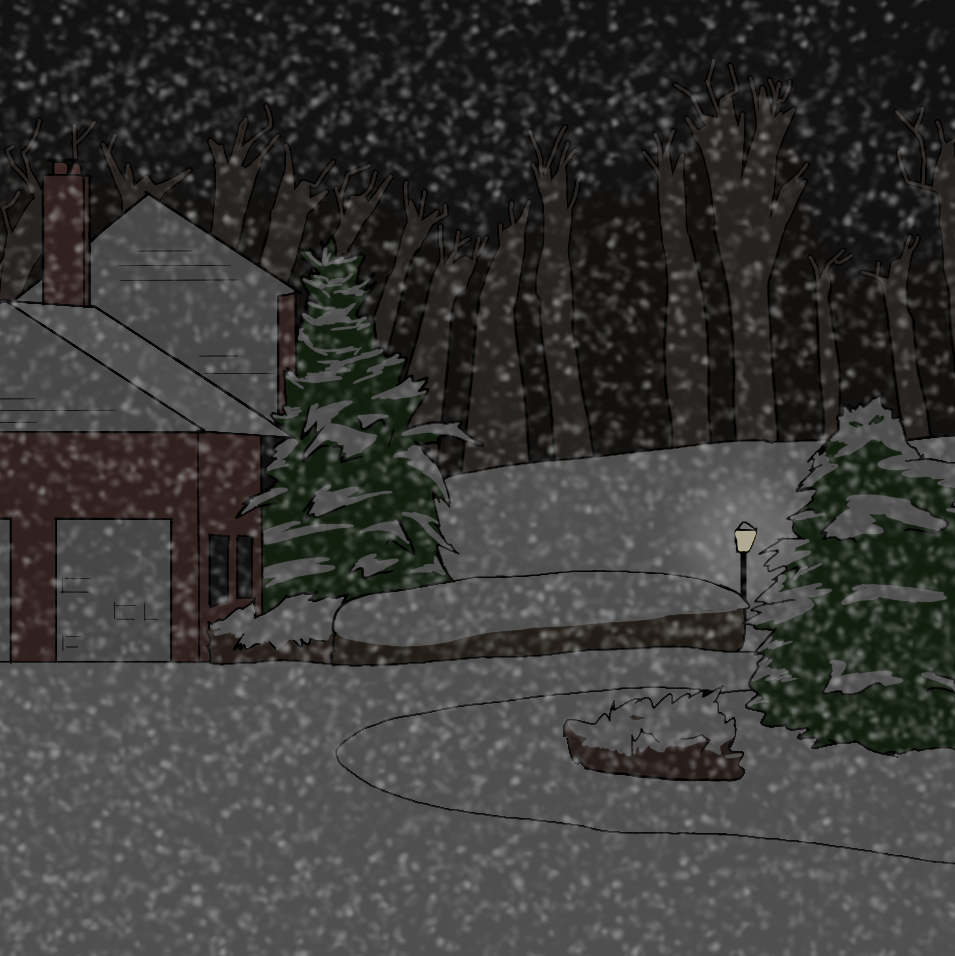
From left to right: using transparent and duplicated layers; Using layers to have multiple overlapping midgrounds; Using layers for shadows; All created by me Brush TricksSometimes there is a brush that draws exactly what you were needing without all the time it takes to draw it. For example, drawing snow dot by dot would be really hard, but if you use a dot brush you can do it really quickly. The software I use (Sketchbook) has some nice brushes for drawing vines too, which I use often in my comics. Dot brushes are also useful for drawing spots. I also really like to use blending brushes to draw lines to indicate motion and speed. I also really like using the blur brush to create different effects such as focus or gradients. Sometimes hatching brushes can be sued to create lines to indicate rain (as shown in Rain on Window Tutorial Below).
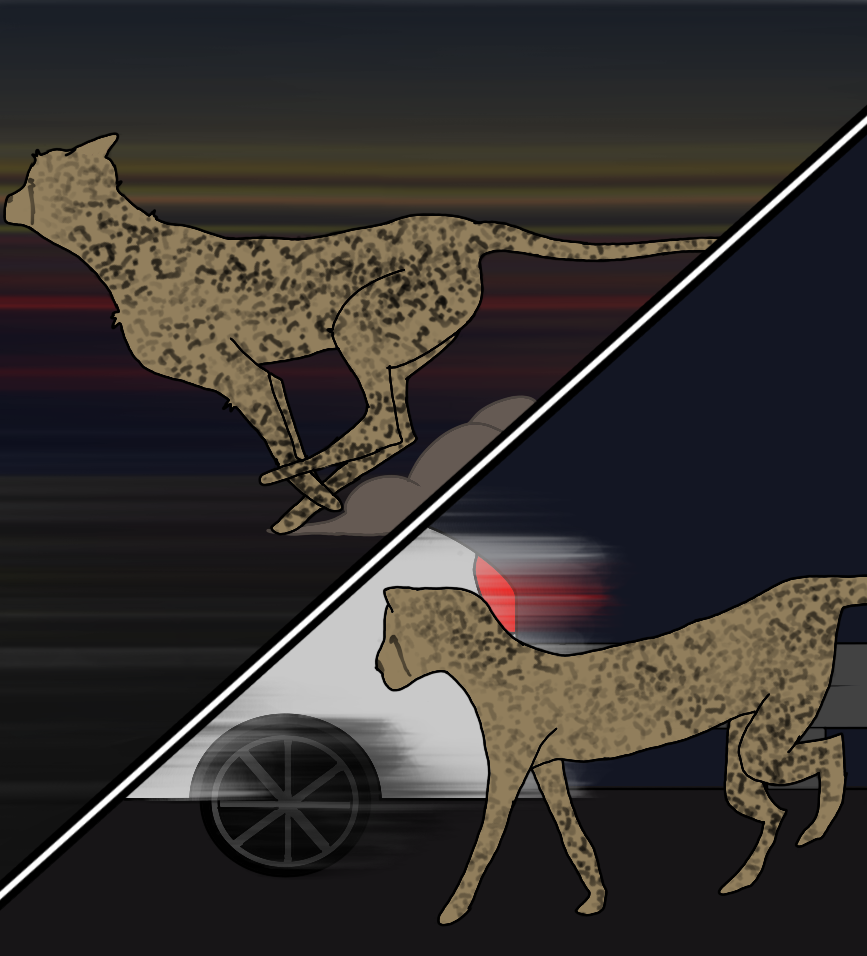
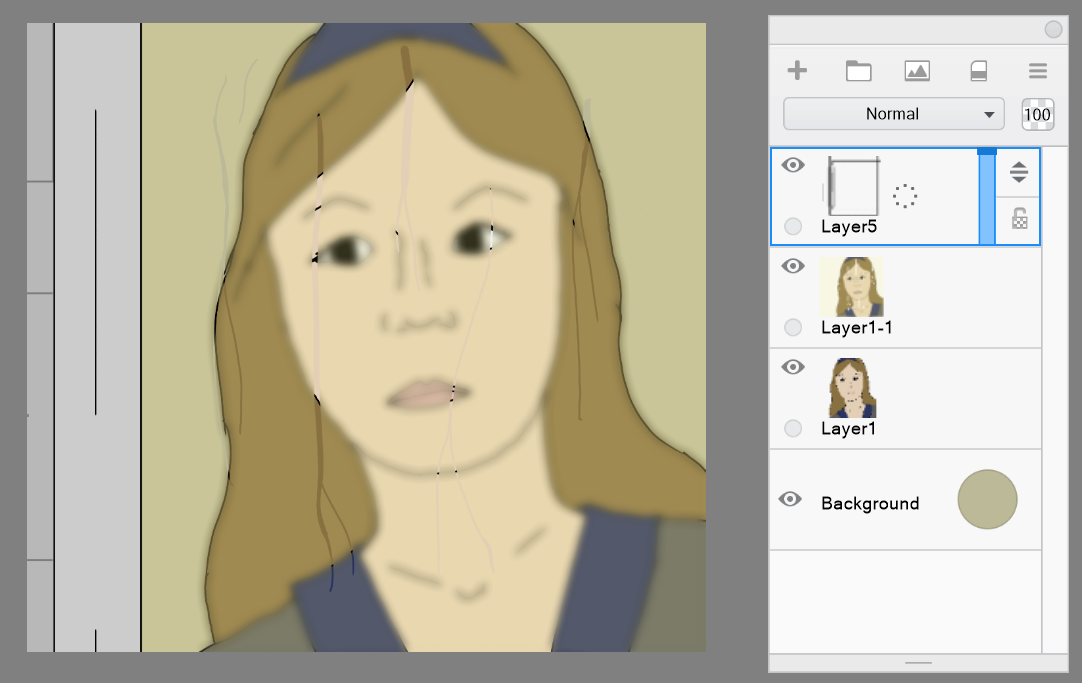
From left to right: Example of using brushes to draw snow and vines; Used dot brush in conjunction with an eraser to create spot patterns on the cheetah as well as a blending brush to indicate speed; Used a blur brush to create a blur affect around the edges; All created by me EffectsUsing digital art tools, you can make really cool effects using certain brushes and layering. Here is one thing I like to do: Rain on Window I really like the effect of rain rolling down a foggy window. Here's how I do it: Step 1: Draw the scene behind the window.
Step 2: Duplicate the layer and blur the duplicate
Step 3: Create a semi transparent layer of a light yellow
Step 4: Merge blurred layer and transparent cover layer. Now you can use the eraser to draw drops of rain by erasing the top layer. (Tip: vary the size of the brush to create different sized streams of water)
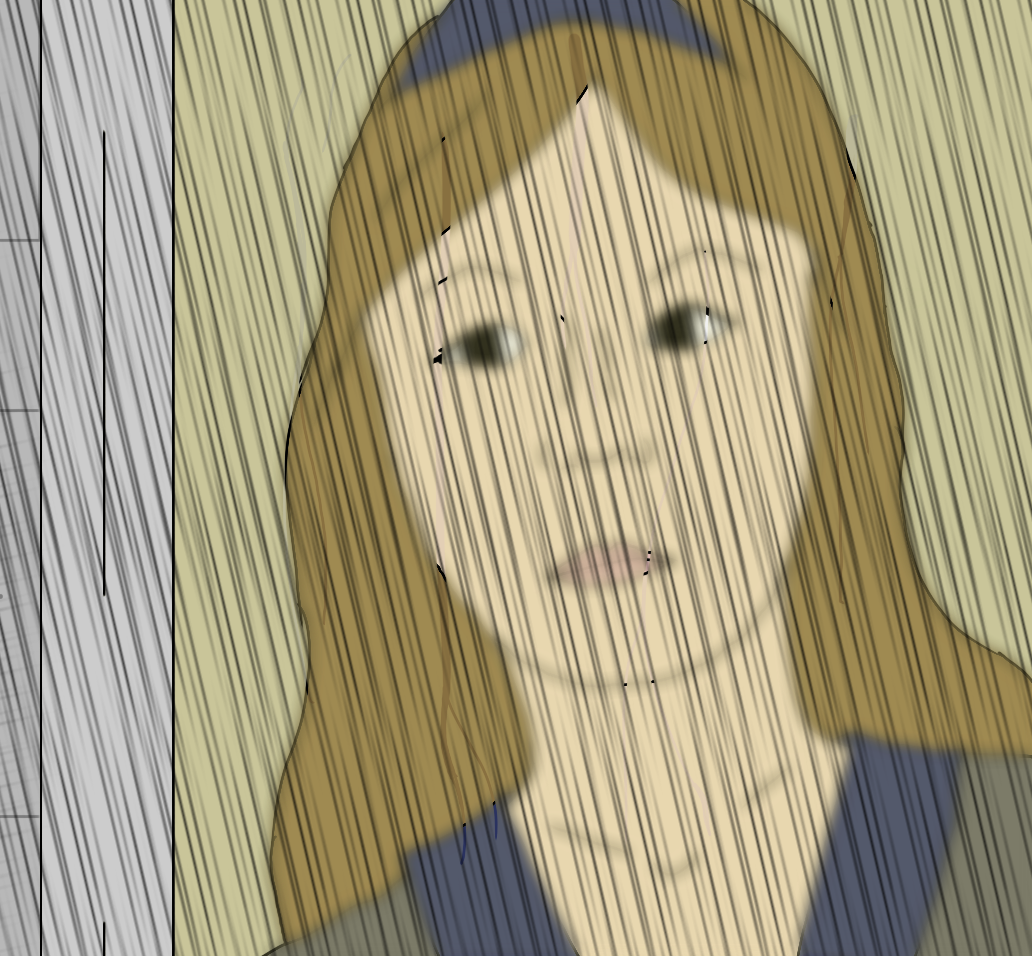
Step 5: Draw the window frame and outside wall on another layer
Step 6: Draw rain on the next layer! (I like to use a hatching brush as it draws many diagonal lines; you may need to increase the size of the brush a lot to make it look like rain)
I think I may do more tutorials for tricks like this in future posts. Let me know what you guys think in the comments! Also let me know if there are any other things you would like me to write about in future posts. Image Credit
My art is inspired by many things inside myself. From holiday joy to deep emotions, there’s always something of me that propels my art. I put a lot of myself in my art I put a lot of feelings -- a lot of me -- into the art I make -- and it shows. When I’m into an art piece, it is so much better than ones I rush through. For example, the art below: I rushed through the ones on the left, but the ones on the right I put more energy in.
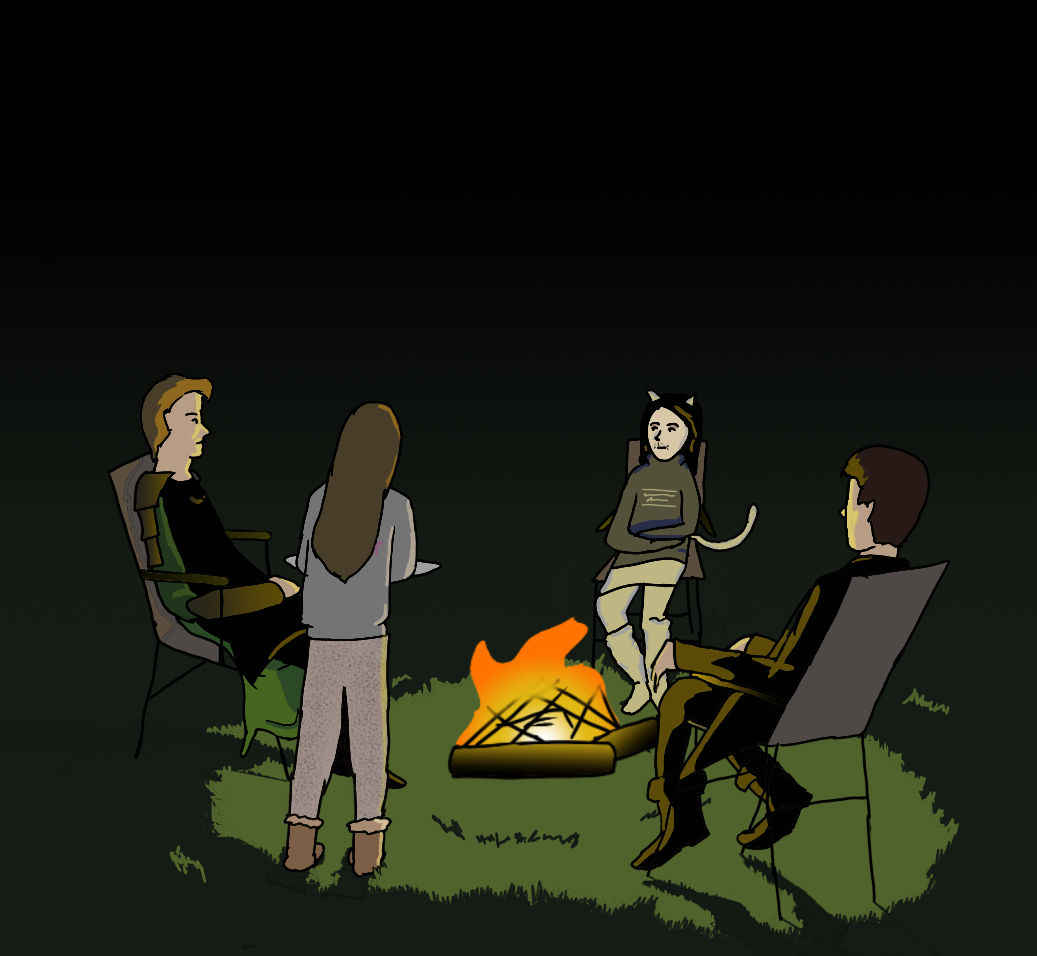
Sometimes I rush through art when I'm not inspired by it, but more often it's because of time pressure (I'm running behind on my comics, I have to do something in a few minutes and want to finish the frame before then, etc.) Water and Ice: Beauty of NatureI don’t know why but I love water and ice. I also love to draw storms. Whenever I get a chance I include them in my drawings. Usually it doesn’t make plot sense to have a water, ice or snow scene, but whenever there’s a chance I do it. Rain is a lot more common, so I do include a lot of rain scenes. This is also true for stories and role playing games I write. It's also inspired me to design temperature control, water powers, and ice powers characters for my comics. Below are slideshows of my art that's been inspired by these things. Ice and Snow Water Rain, Thunder, and Lightning Seasons and HolidaysOne thing I really enjoy is holidays, so you'll see me doing a lot of art relating to seasons, holidays, and special events. I made a whole Halloween special and a beach special for my comics, put a lot of work into drawing our Christmas tree, and included as many snow scenes in the winter as I could. I love to draw seasonal weather in my outdoor scenes! I showed a lot of special family traditions in these pieces of art.
Plot
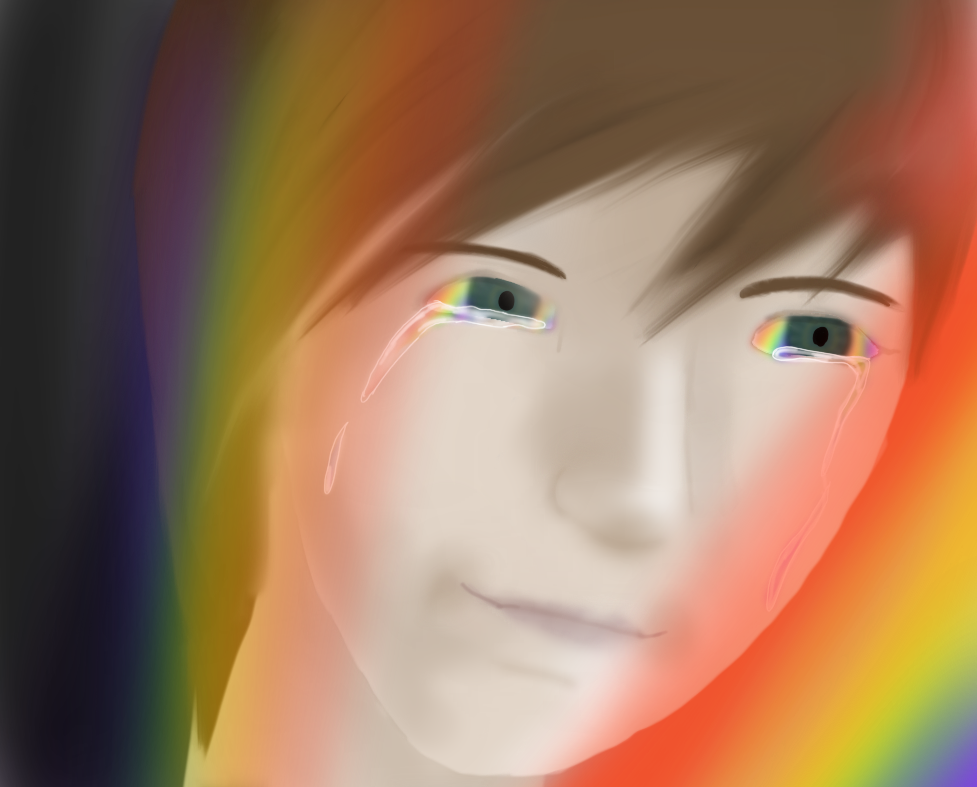
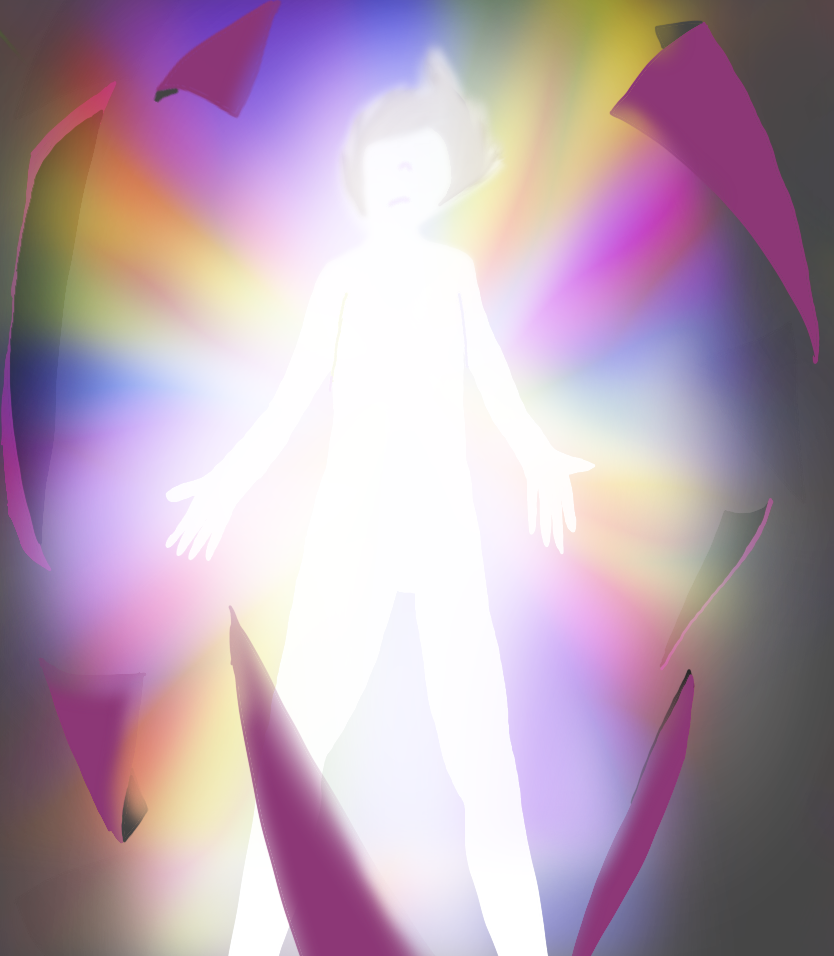
Deep EmotionsThe deepest use of art for me is expressing heavy, strong, and complicated emotions. It's a really powerful way for me to express myself and what I feel. These pieces are usually more detailed since I have all this power to put into them. A lot of times I use music to channel these emotions too. Some of these pieces are heavily inspired by a song that brings up powerful emotions in me.
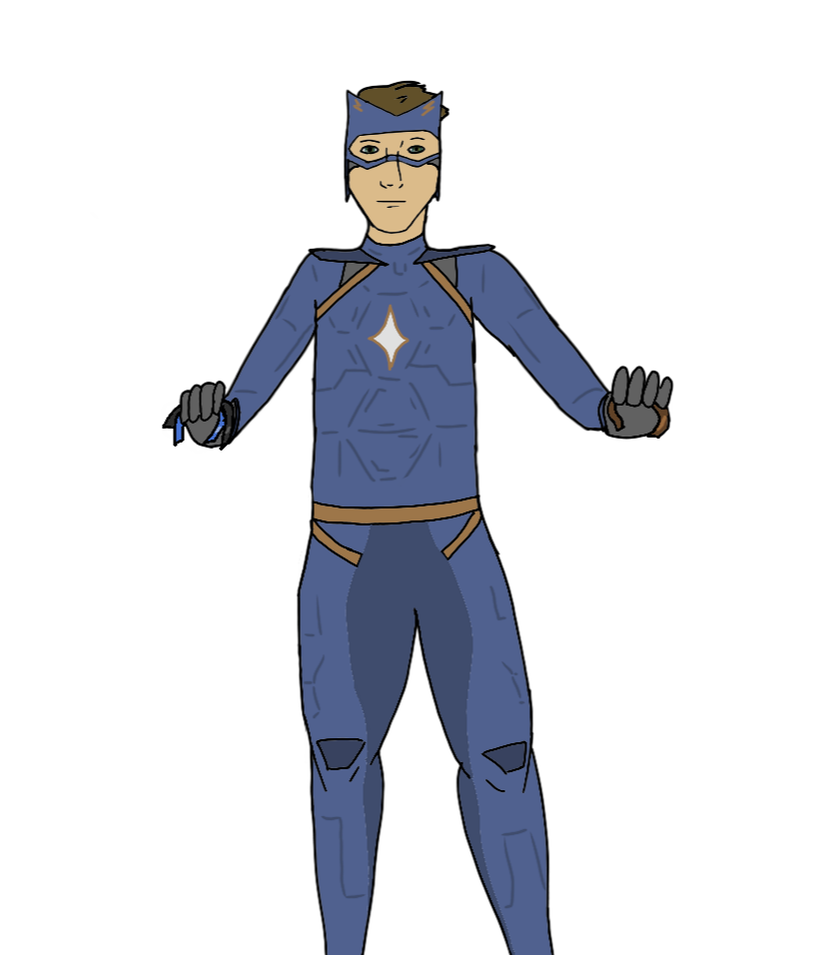
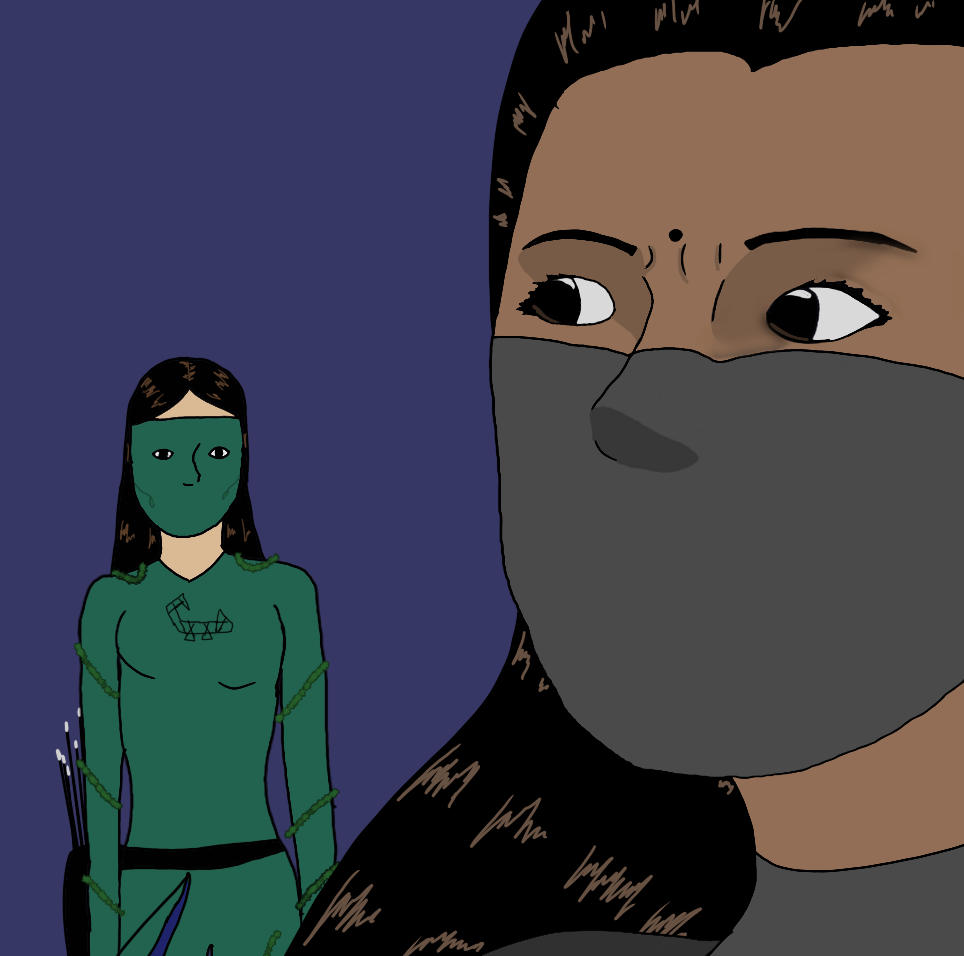
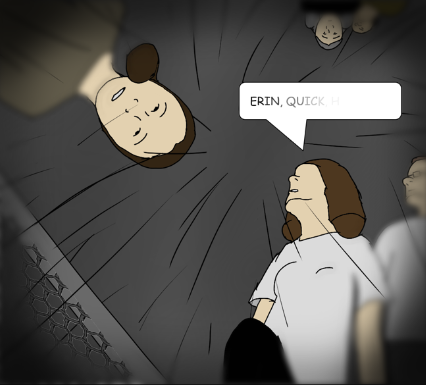
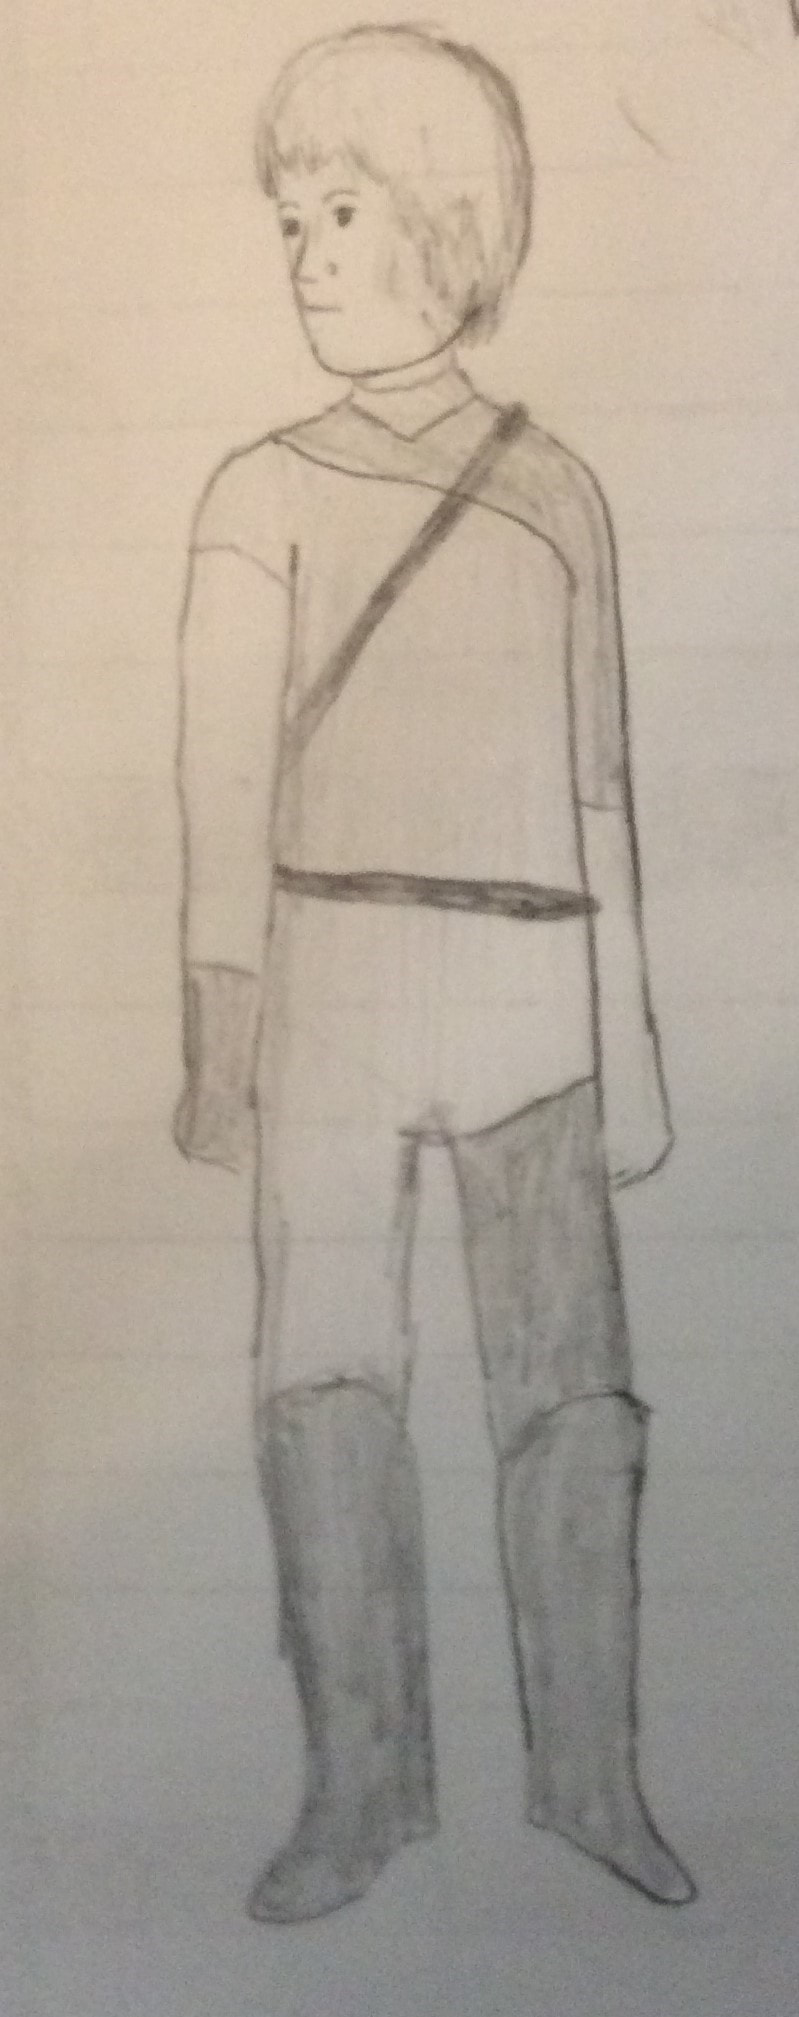
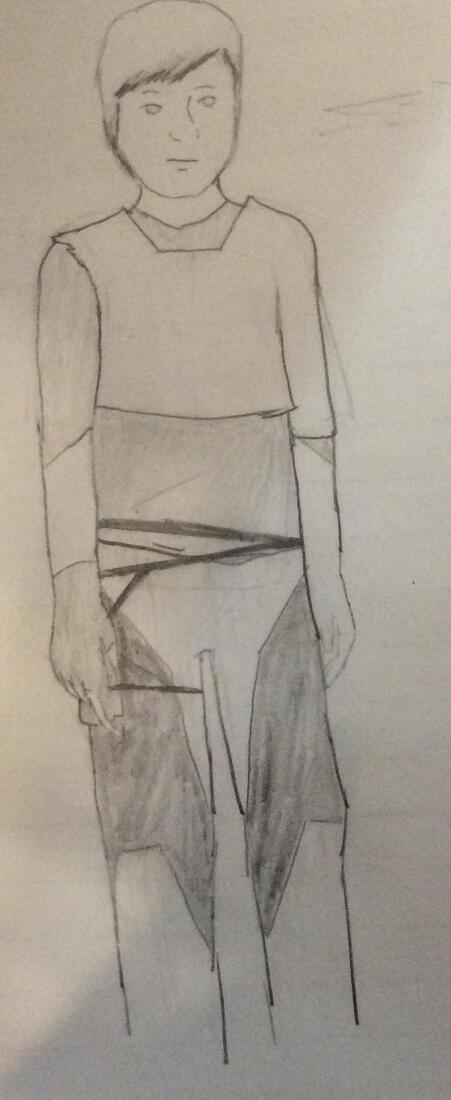
So far most of my posts have centered around my art. That's not the only part of comics or even art in general. There's the storytelling aspect and the character aspect. Today I'm going to go into that character aspect. I'm going to share my process of designing a character. My sister Erin has helped me a lot with generating ideas for character suit designs. I started with her idea she gave me for this character. She usually gives me creative designs based on a style idea I give her. I took the design from there. Keeping elements of her design, I sketched my own. Usually I do it by sketching many drafts until I come across something I like.
I have recently created and added three new pieces of art to my digital art section of this website. I have also added several new pieces to the comics section as well. In addition I have added a paintings page. View the new art and new page here:
|